Hey all.
I just spent about seven hours replacing the rear spring bushings in my '63 Lark 4 door, or I should say half of the bushings. I pulled the spring pack off the pass. side and used an air hammer to remove the old bushings and installing the new ones. Then came time to remove the bushing in the frame. It took me 4 hours of torch, chisel, and air hammer to get that boogger out. The new one went in without too much trouble with the air hammer. There's not a lot of room, what with the gas tank and exhaust pipe right there and the inside of the fender on the other side, so getting tools into that small space was a real challenge. The outside metal of the old bushung had pretty much welded itself to the bushing boss in the frame.
Has anyone fround an easy, slick way of doing this? I only got the pass side done today, and I'm not looking forward to having to do this again tomorrow the same way on the drivers side. At least I won't have to fight around the exhaust pipe!
Thanks in advance for the advice and suggestions.
Brian


 [/URL]
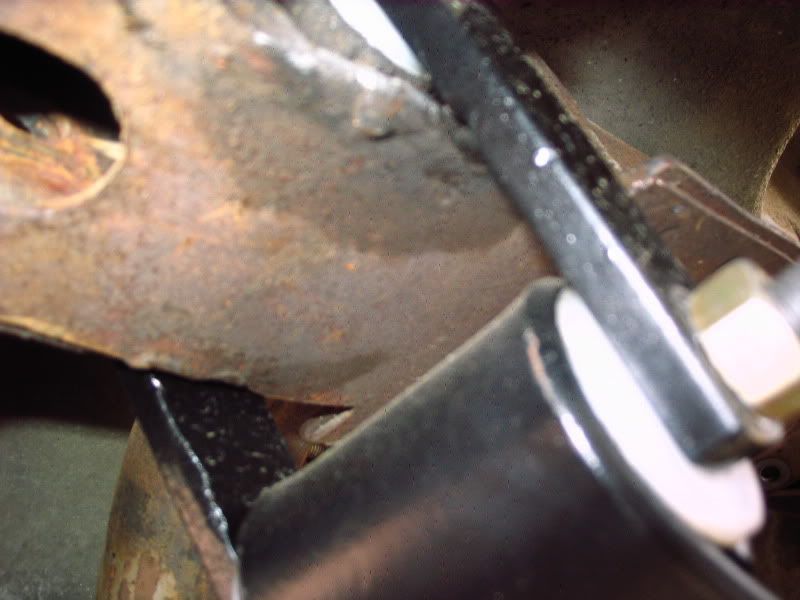 [/URL]
Comment