Stainless Restoration #2, Wooden You Like To Know
Copyright 2008 Dale McPhearson, all rights reserved. Published with permission
Things said here are easy to be misinterpeted as "that is the only way it is done" "that is always the way it is done" "he is saying my way is no good" etc.
The pictures represent the way I do many things a lot of the time.
Some will be disappointed that the process is "low tech" or whatever. Much of what I do is original or an an adaptation of a process I have read about. Because of the originality, however simple the process, I want to pass on what took a fair amount of effort to gain. I am able to do cars in a quarter, or less, of the time that it took when I started. Then, my lack of skill was made up by longer work. There is no need for everyone to have to do that.
The "ironing" method is an adaptation of a process I read about in SKINNED KNUCKLES many years ago. That author's process used shaped dowels and a hammer. That worked unsatisfactory for me so I changed it.
Some of the tools may be a little over the top for a guy with just one car and that is realized, however, I am presenting what works for someone who would like to do things quicker and better. Many times it is faster to make the "special tool" than struggle through. People may just need to realize what tools are needed and they are obviously not that complex.
We will get around to hammering next week. In the meantime: DON'T USE A PUNCH TO REMOVE DENTS.
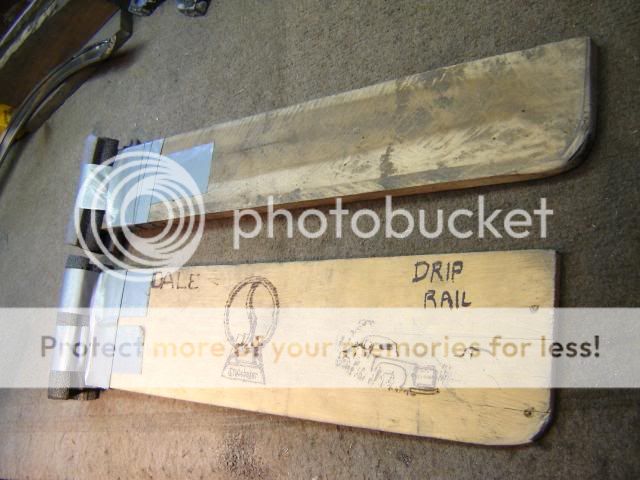
These are wooden pieces that are padded to fit under the armpit and the other end is rounded to push out areas such as a flattened spot on a wheel well trim. The piece is backed up with thin carpet runner or perhaps a padded board with a cleat to help hold the piece while force is put on it. Patent applied for<G>. These work better than "hammering" in some applications as they bring back the desired shape more evenly. The thinner one is for drip rail stainless and is made wide for better strength. Ignore the wood burning as they were used for practicing before being converted to something useful.
Length of these depends upon your height and height of workbench. Cut a board length that will allow good force for an "ironing" motion. The length is a fit to my height and the workbench height. The board width is determined by the piece to be worked on.
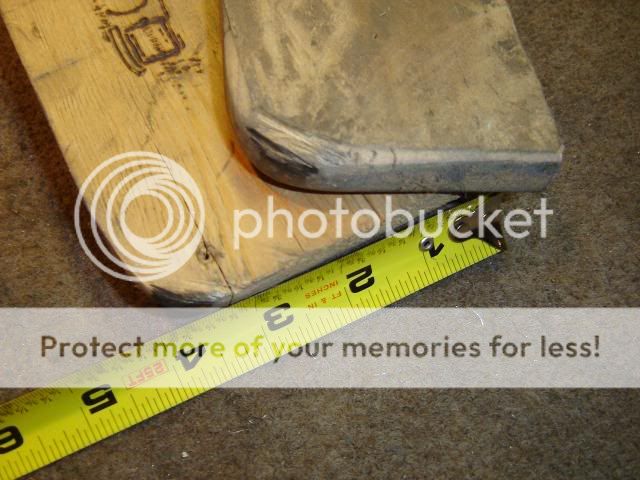
Just to give a rough idea of size., The width gives strength to the thin boards. The bottom one is 1/4" thick and the top board is 3/4" thick. This is common hard wood from crates. The nail hole isn't very important. I often use pipe foam insulative wrap held on by duct tape to pad the armpit end.
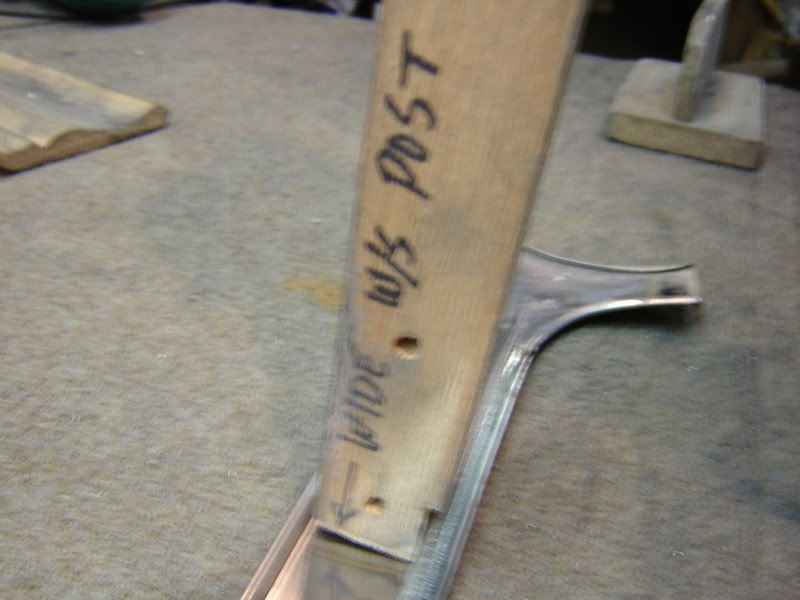
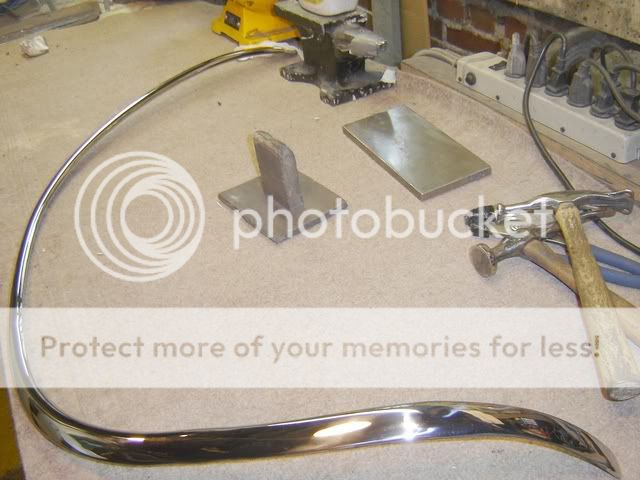
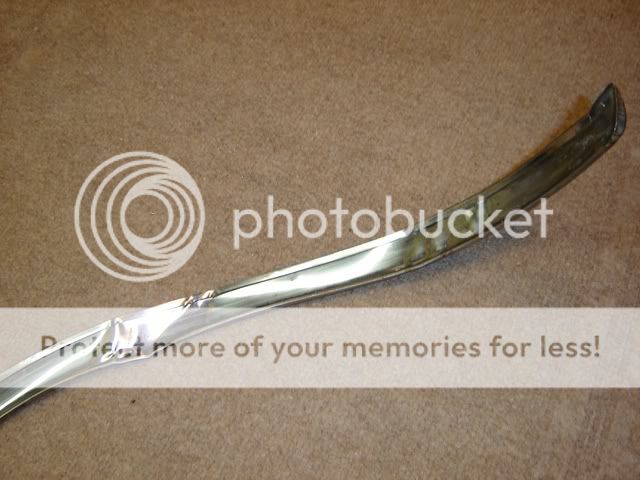
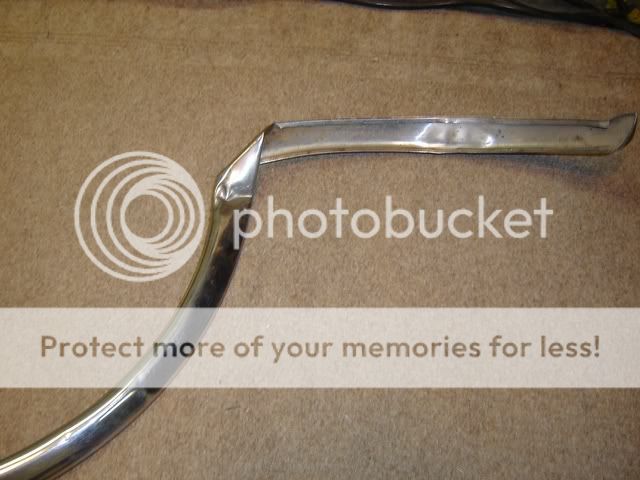
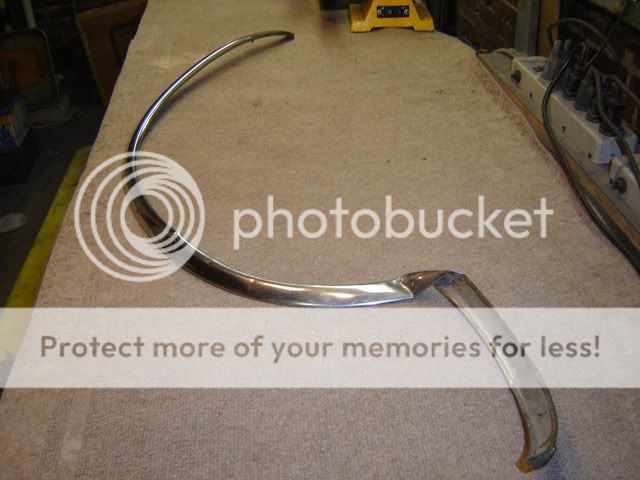
K body windshield side piece tool -- These relatively flat pieces bend easily and often suffer push-in damage when being reinstalled.
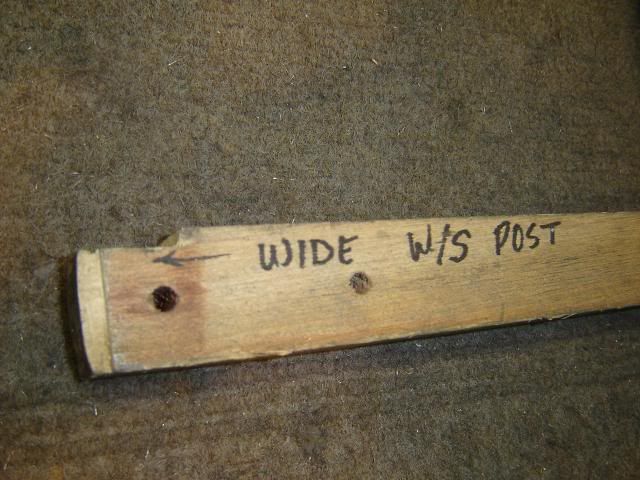
Shape the end to the ideal curve(s). This may be a template taken from several cars and averaged. Top and bottom shapes are a little different. The holes are for cooling when I work really fast.
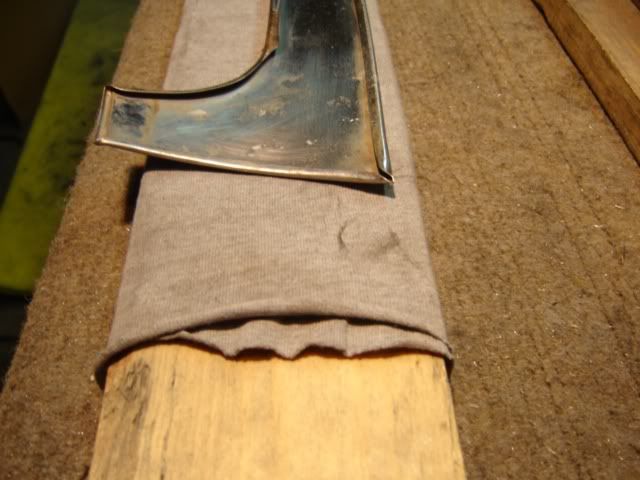
Use a thin padding under the piece while ironing.
53-5 C/K Quarter panel strip. To remove clip marks from a 1953-5 C/K quarter panel top stainless strip.
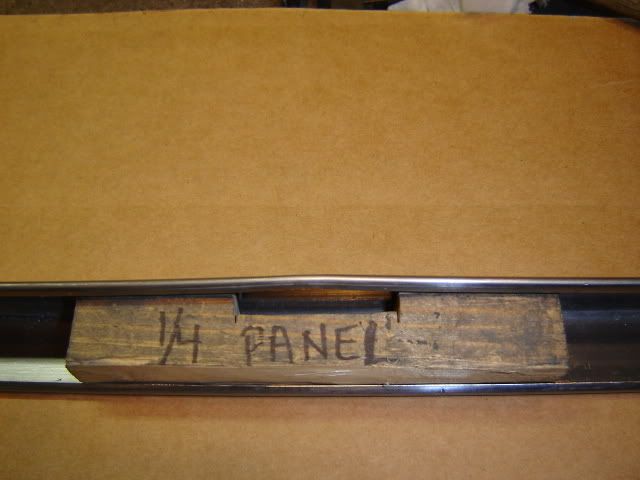
The notch in the wooden block isolates the area to be worked on. I mark wood pieces as they will be saved and used again.
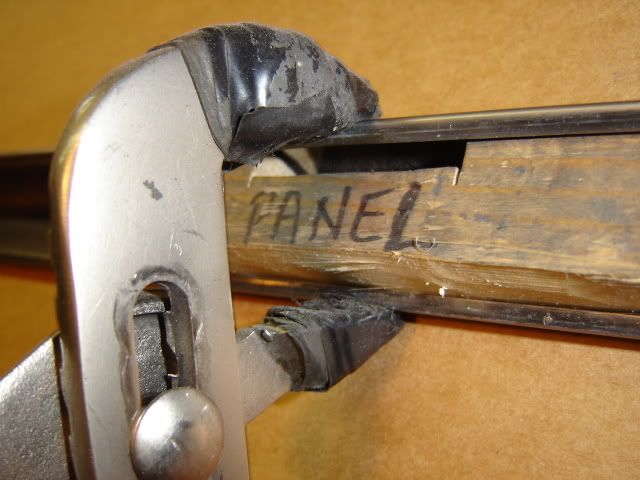
Squeeze gently. The plier jaws are padded with rubber tape under the vinyl tape. The jaw teeth have been smoothed to avoid damage. I add a coupl
Copyright 2008 Dale McPhearson, all rights reserved. Published with permission
Things said here are easy to be misinterpeted as "that is the only way it is done" "that is always the way it is done" "he is saying my way is no good" etc.
The pictures represent the way I do many things a lot of the time.
Some will be disappointed that the process is "low tech" or whatever. Much of what I do is original or an an adaptation of a process I have read about. Because of the originality, however simple the process, I want to pass on what took a fair amount of effort to gain. I am able to do cars in a quarter, or less, of the time that it took when I started. Then, my lack of skill was made up by longer work. There is no need for everyone to have to do that.
The "ironing" method is an adaptation of a process I read about in SKINNED KNUCKLES many years ago. That author's process used shaped dowels and a hammer. That worked unsatisfactory for me so I changed it.
Some of the tools may be a little over the top for a guy with just one car and that is realized, however, I am presenting what works for someone who would like to do things quicker and better. Many times it is faster to make the "special tool" than struggle through. People may just need to realize what tools are needed and they are obviously not that complex.
We will get around to hammering next week. In the meantime: DON'T USE A PUNCH TO REMOVE DENTS.
These are wooden pieces that are padded to fit under the armpit and the other end is rounded to push out areas such as a flattened spot on a wheel well trim. The piece is backed up with thin carpet runner or perhaps a padded board with a cleat to help hold the piece while force is put on it. Patent applied for<G>. These work better than "hammering" in some applications as they bring back the desired shape more evenly. The thinner one is for drip rail stainless and is made wide for better strength. Ignore the wood burning as they were used for practicing before being converted to something useful.
Length of these depends upon your height and height of workbench. Cut a board length that will allow good force for an "ironing" motion. The length is a fit to my height and the workbench height. The board width is determined by the piece to be worked on.
Just to give a rough idea of size., The width gives strength to the thin boards. The bottom one is 1/4" thick and the top board is 3/4" thick. This is common hard wood from crates. The nail hole isn't very important. I often use pipe foam insulative wrap held on by duct tape to pad the armpit end.
K body windshield side piece tool -- These relatively flat pieces bend easily and often suffer push-in damage when being reinstalled.
Shape the end to the ideal curve(s). This may be a template taken from several cars and averaged. Top and bottom shapes are a little different. The holes are for cooling when I work really fast.
Use a thin padding under the piece while ironing.
53-5 C/K Quarter panel strip. To remove clip marks from a 1953-5 C/K quarter panel top stainless strip.
The notch in the wooden block isolates the area to be worked on. I mark wood pieces as they will be saved and used again.
Squeeze gently. The plier jaws are padded with rubber tape under the vinyl tape. The jaw teeth have been smoothed to avoid damage. I add a coupl

 Lark Parker
 ]
]
Comment