Updating picture locations so I can show my dad all that I do here.
You guys are supposed to message me when you find the red x's.
Here is the disassembly proceedure for the R1 fuel pump, I will add
text where it will be helpful, but the pictures should be sufficent.
The stock Studebaker fuel pump is similar, so most of this will apply
to that unit as well. If you have dialup, this might be a little bit
for you, hit the red X or the "Stop" button on your browser. If you
want to see a certain picture, right click it, and hit "show". I am
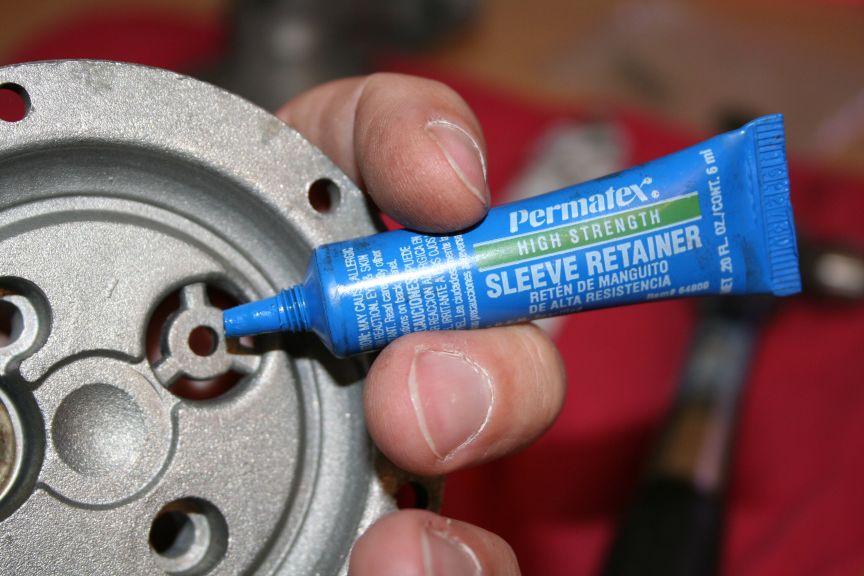
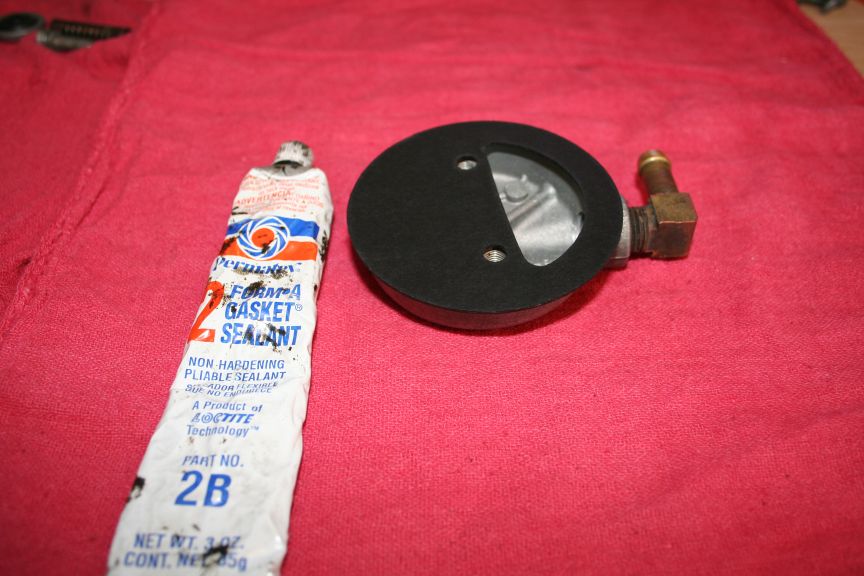
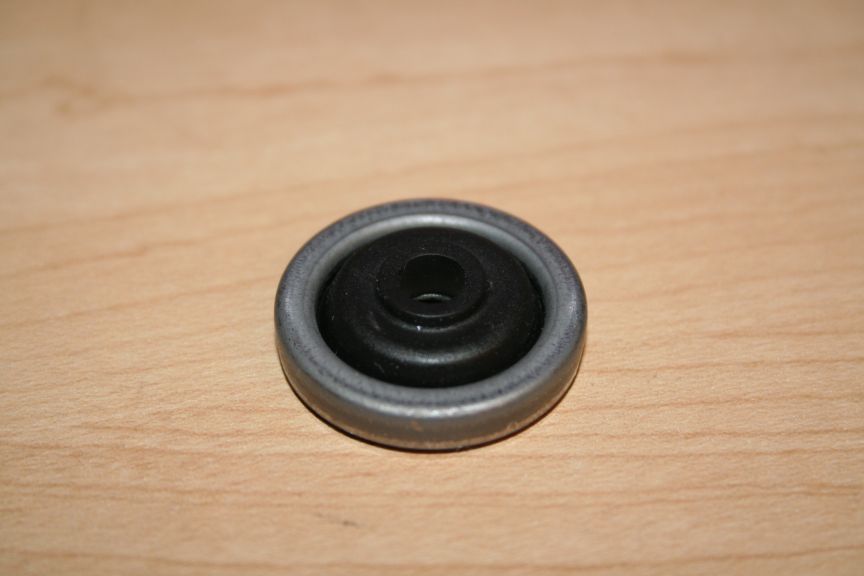
using a rebuild kit from Studebaker International, with a different
stem seal that is included in the "Cellar" kit :
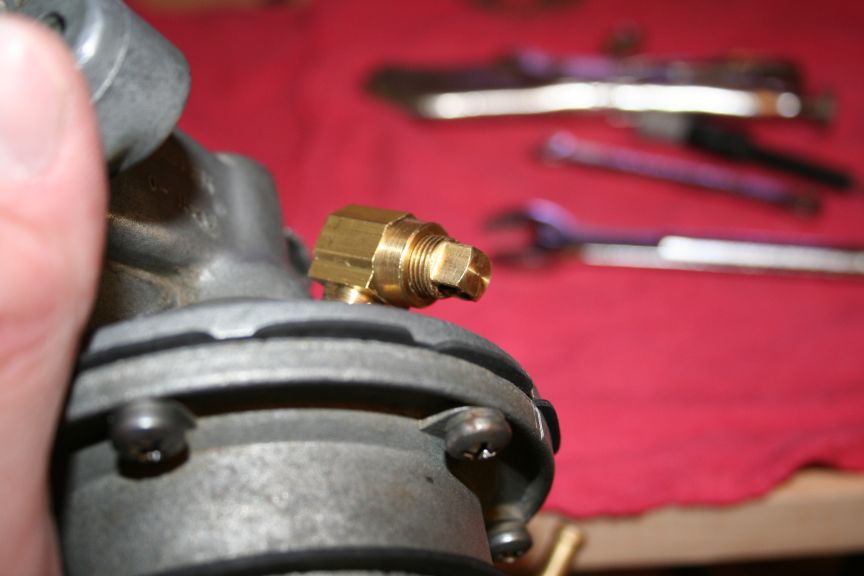
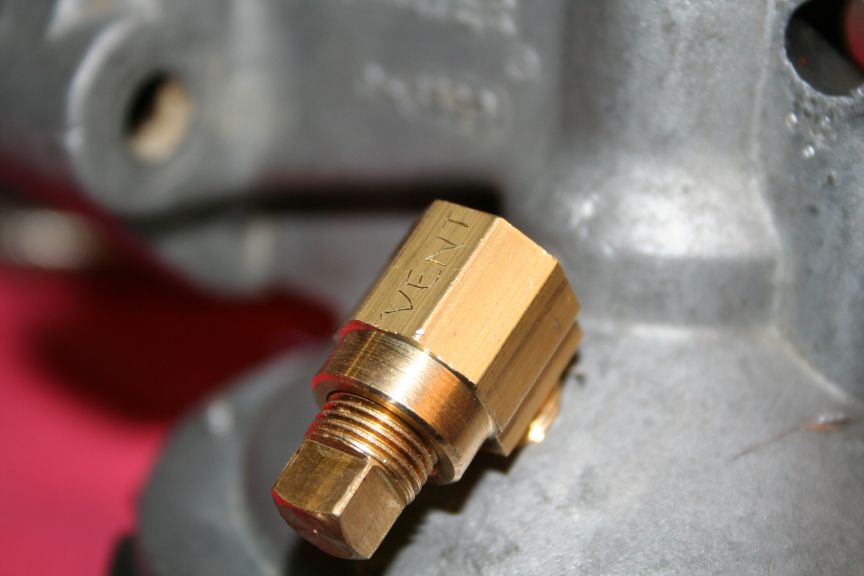
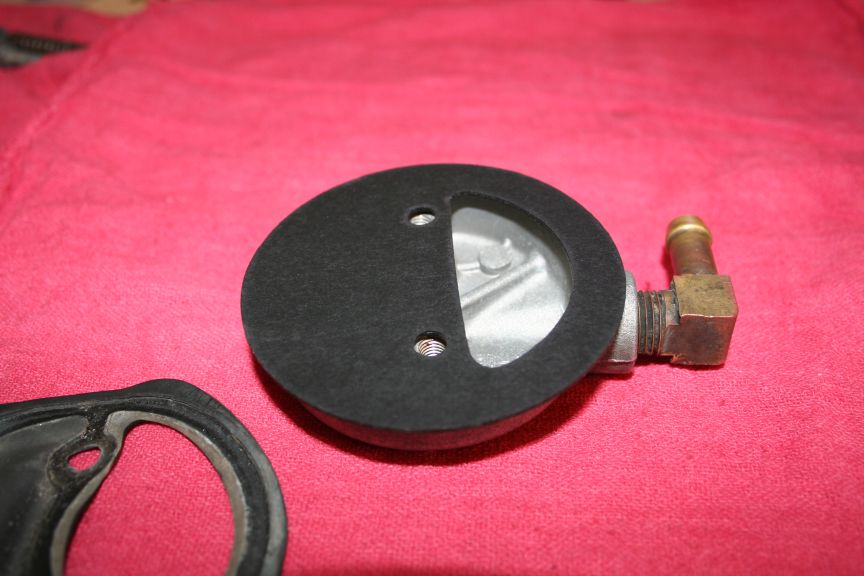
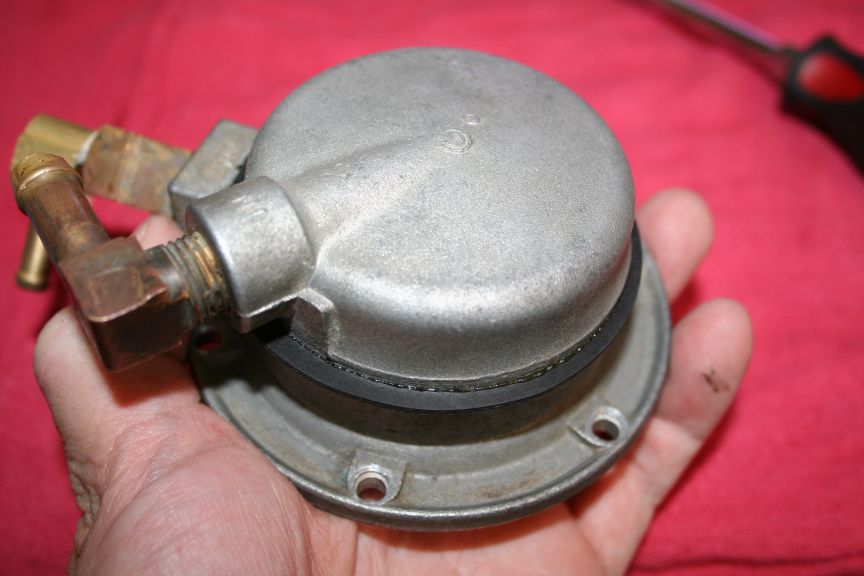
Here is the pump, off the car, and cleaned :


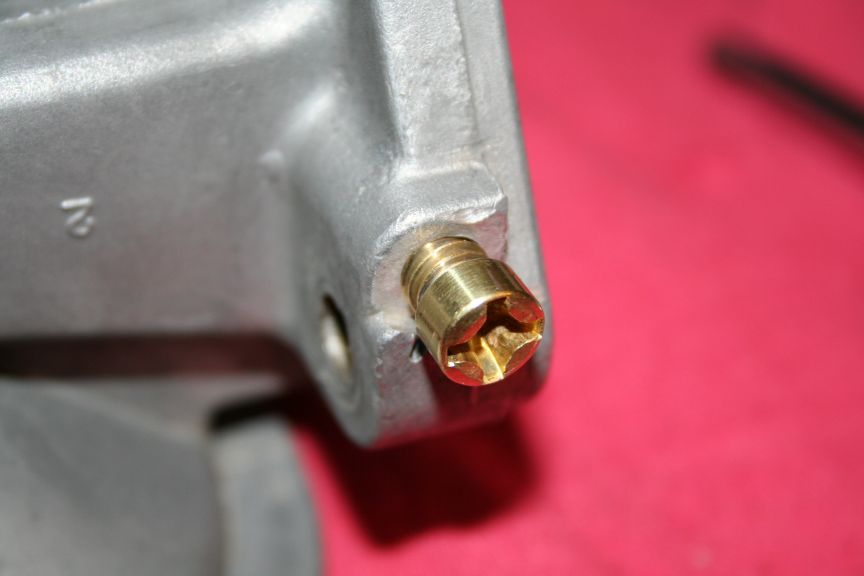
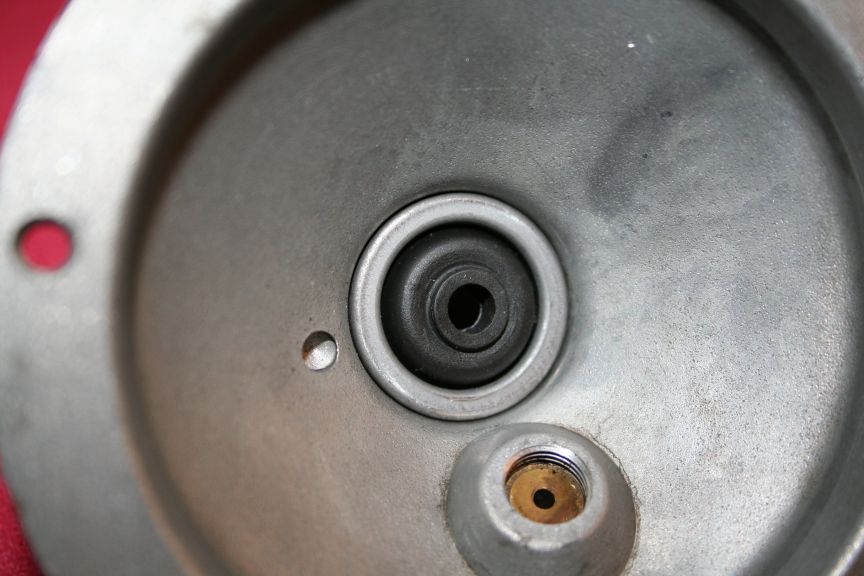
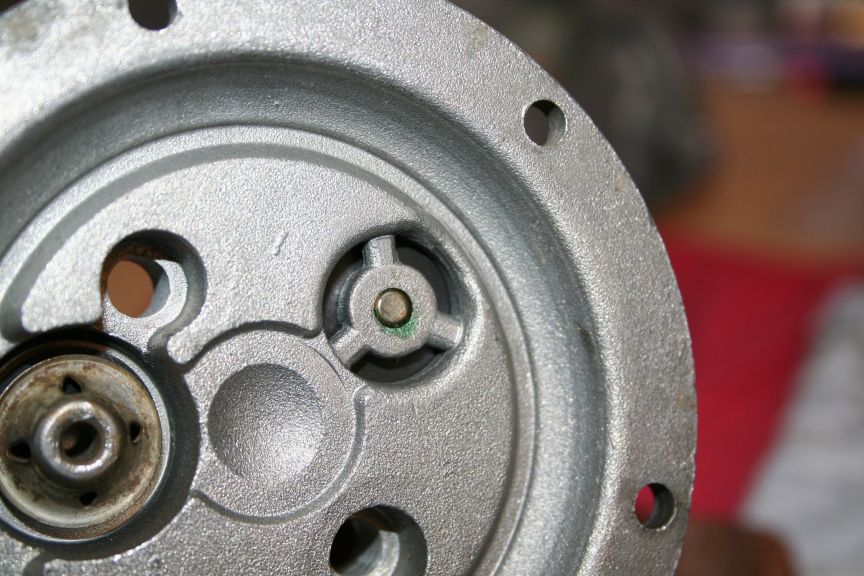
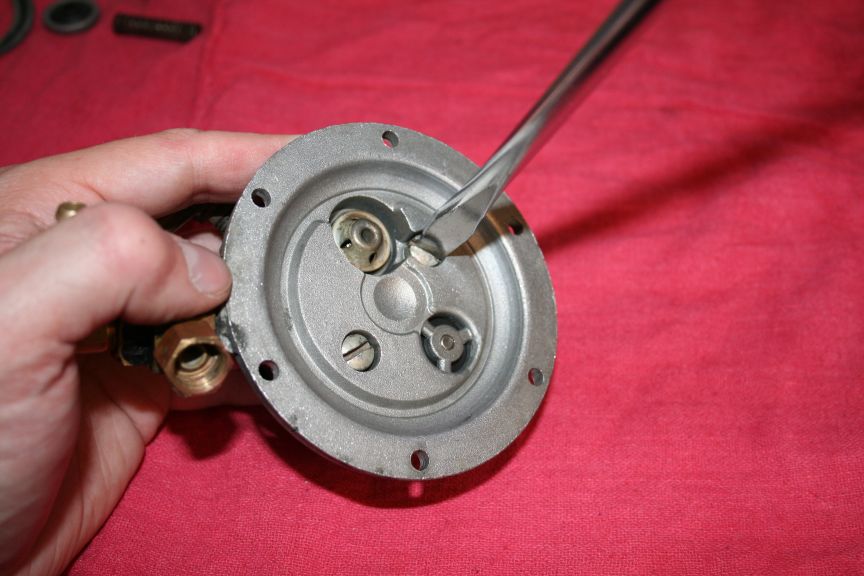
Closeup of the plug holding the pivot pin in :

Put in a vice (carefully) pinched on the "nose", and the plug hit with
a center punch a few times to make a ridge. The material is pretty
soft, I found that a screwdriver would "grind" it away :

I used a flat blade screwdriver and tapped around the edge, creating a
bump to pry against :

Again with the flat blade, I chiseled (by hand) material away to gain
better access to the plug, and get it out from under the "stake" :

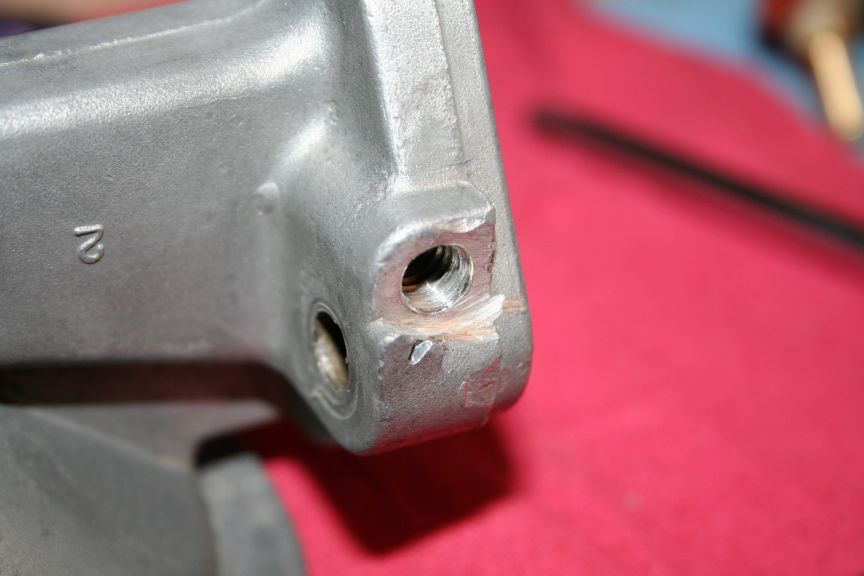
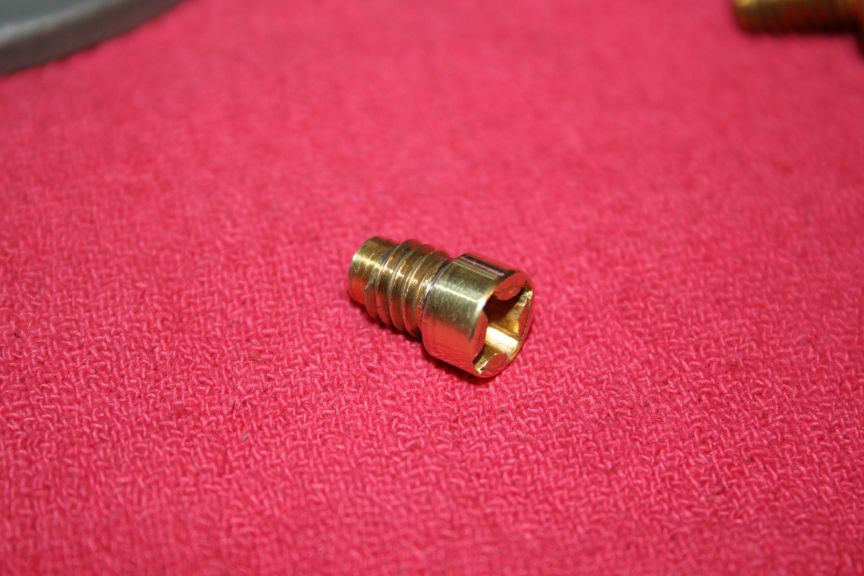
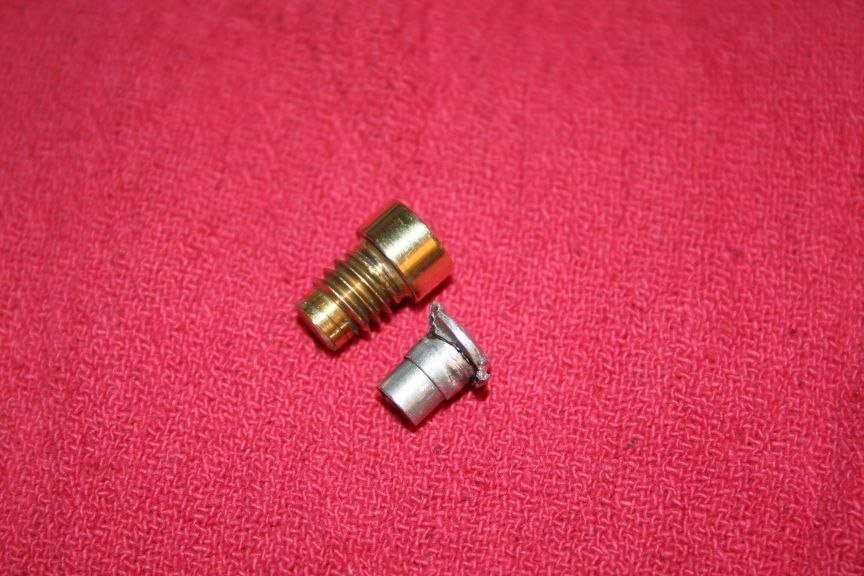
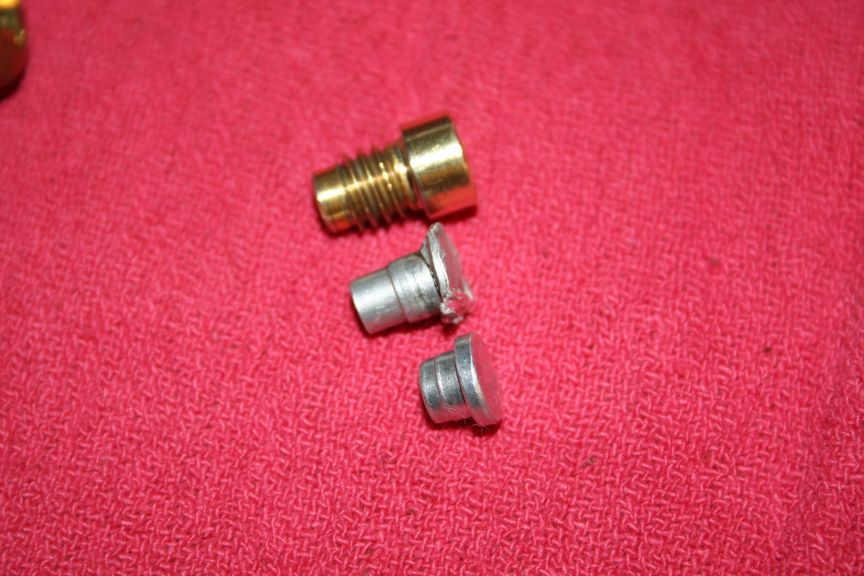
Plug popped out. The plug has a MUCH longer tip on it, the one in the
kit is very stubby, and will allow the pin to move back & forth more.
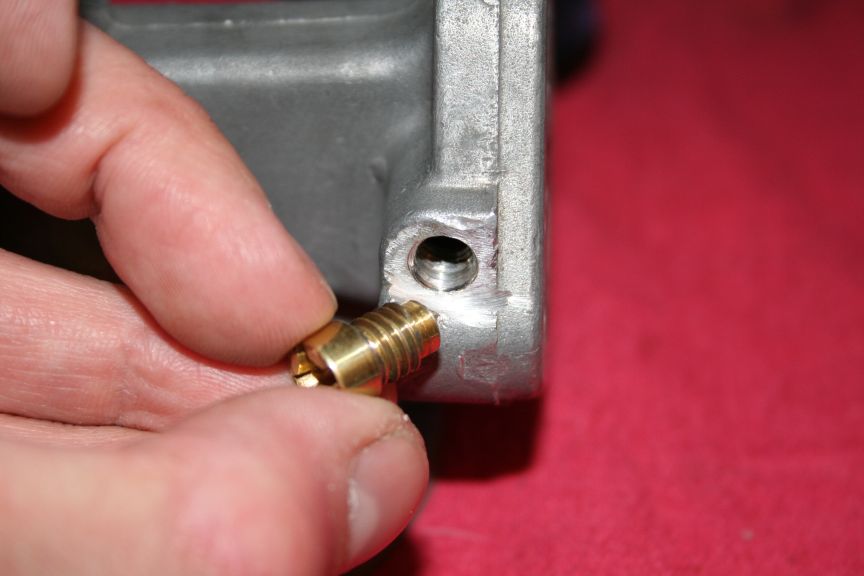
I think I will tap the hole and modify a screw to plug the hole :

Pin comes out with a little cleaning of the hole :


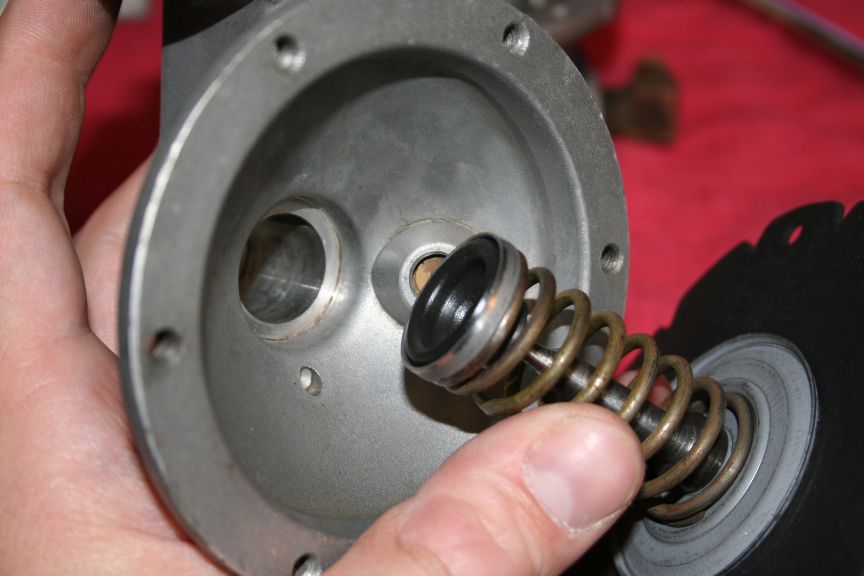
Once the pin is out, the arm comes off :

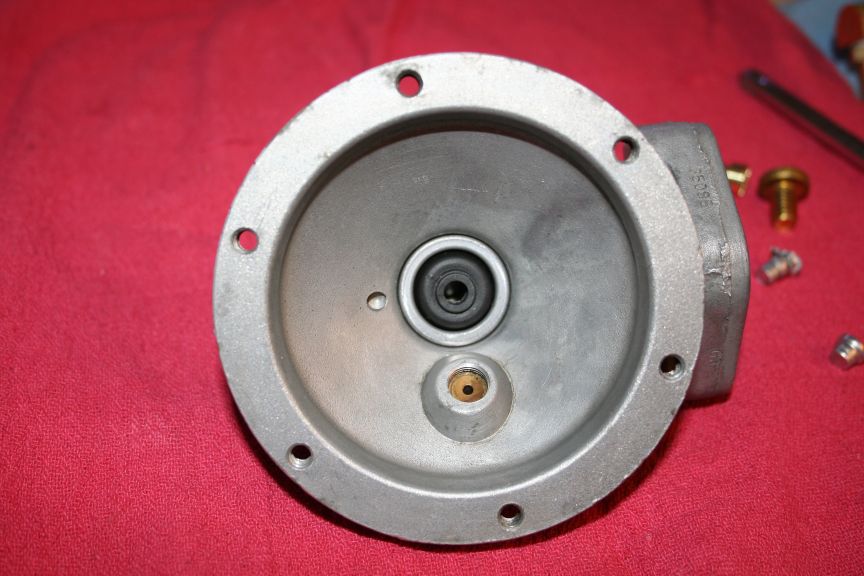
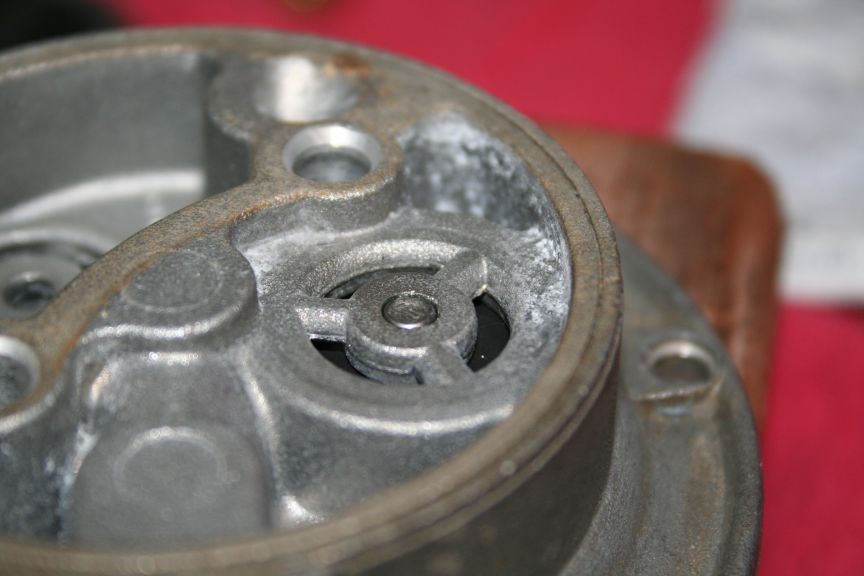
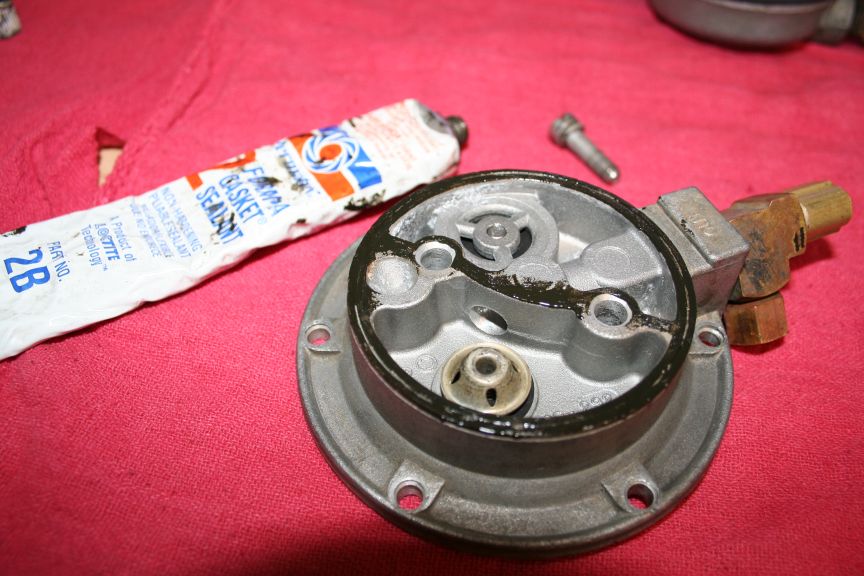
Down inside the housing :

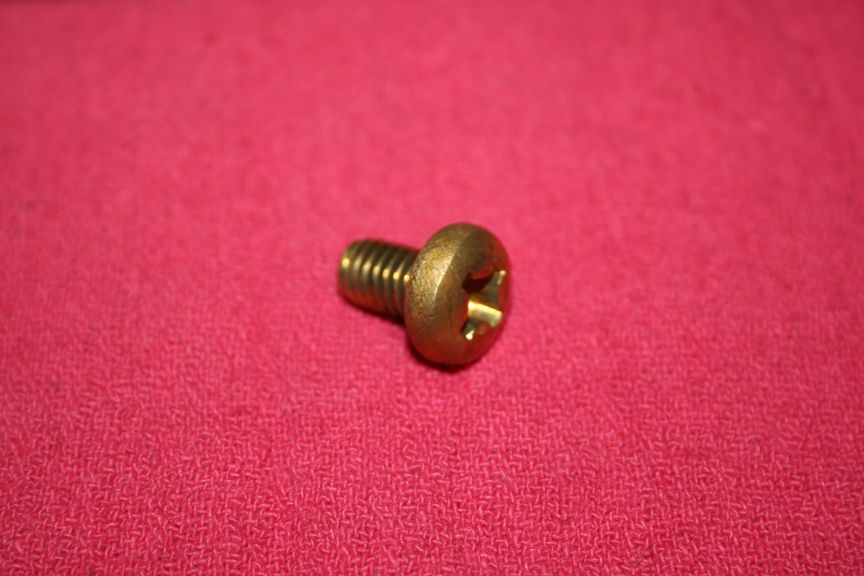
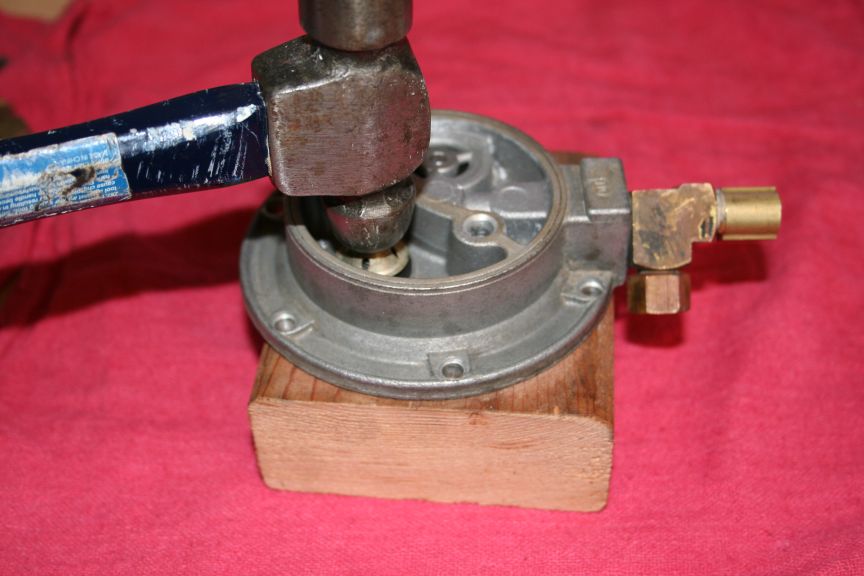
Remove the screws from the bottom :

Crack it open :


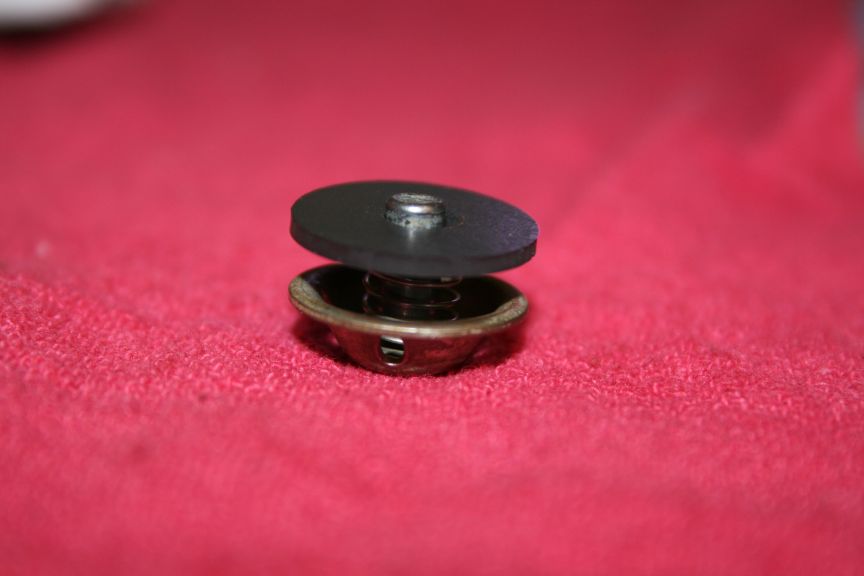
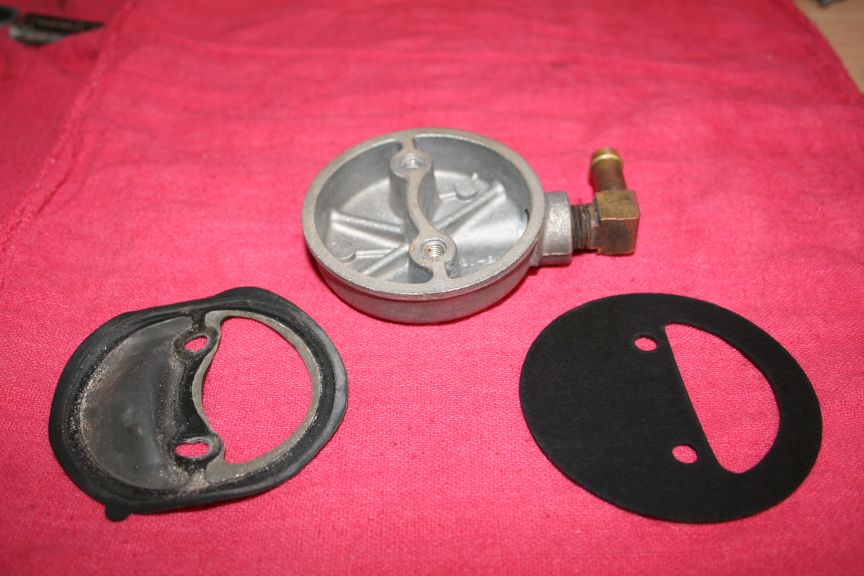
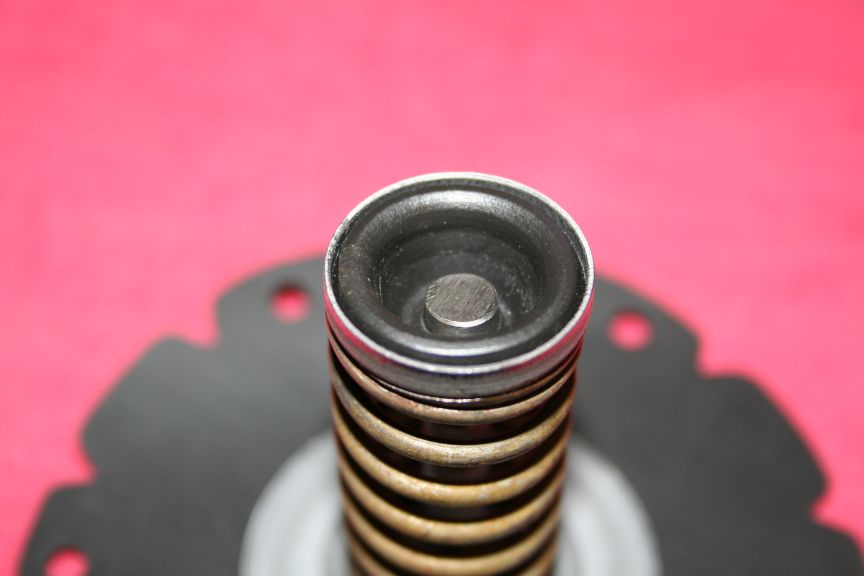
Was happy to find the diaphram cracked (needs replacement) :


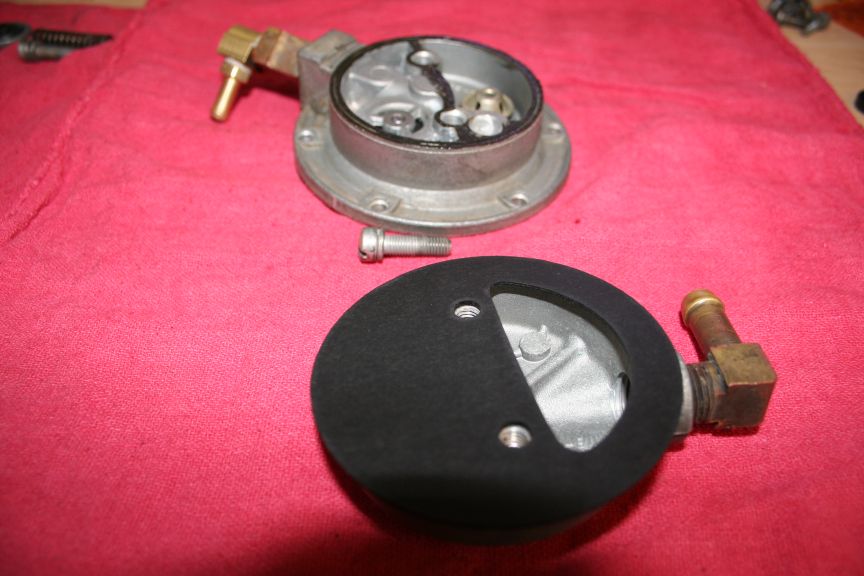
Assembly slides out :

Apart :

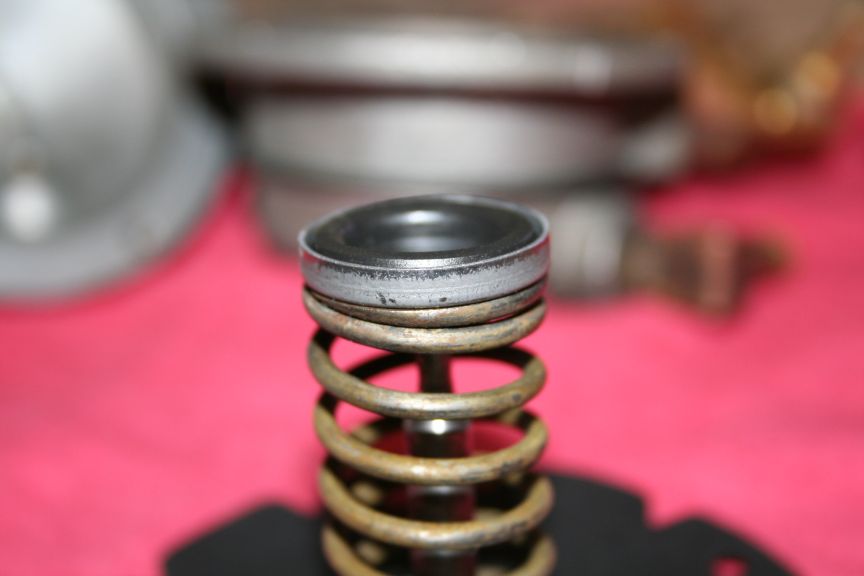
New di
You guys are supposed to message me when you find the red x's.
Here is the disassembly proceedure for the R1 fuel pump, I will add
text where it will be helpful, but the pictures should be sufficent.
The stock Studebaker fuel pump is similar, so most of this will apply
to that unit as well. If you have dialup, this might be a little bit
for you, hit the red X or the "Stop" button on your browser. If you
want to see a certain picture, right click it, and hit "show". I am
using a rebuild kit from Studebaker International, with a different
stem seal that is included in the "Cellar" kit :
Here is the pump, off the car, and cleaned :
Closeup of the plug holding the pivot pin in :
Put in a vice (carefully) pinched on the "nose", and the plug hit with
a center punch a few times to make a ridge. The material is pretty
soft, I found that a screwdriver would "grind" it away :
I used a flat blade screwdriver and tapped around the edge, creating a
bump to pry against :
Again with the flat blade, I chiseled (by hand) material away to gain
better access to the plug, and get it out from under the "stake" :
Plug popped out. The plug has a MUCH longer tip on it, the one in the
kit is very stubby, and will allow the pin to move back & forth more.
I think I will tap the hole and modify a screw to plug the hole :
Pin comes out with a little cleaning of the hole :
Once the pin is out, the arm comes off :
Down inside the housing :
Remove the screws from the bottom :
Crack it open :
Was happy to find the diaphram cracked (needs replacement) :
Assembly slides out :
Apart :
New di


 but just thought of something worth mentioning - when replacing the check valves, drive the mushroom-shaped metal bits in only far enough so that they are flush on the other side. I remember disassembling a "freshly rebuilt" R1/R2 pump once that wouldn't pump, only to find that the check valves were driven in all the way!
Comment