Announcement

Collapse
No announcement yet.

steering wheel restore

Collapse
X
 
  • Filter
  • Time
  • Show
Clear All
new posts

  • Interior: steering wheel restore

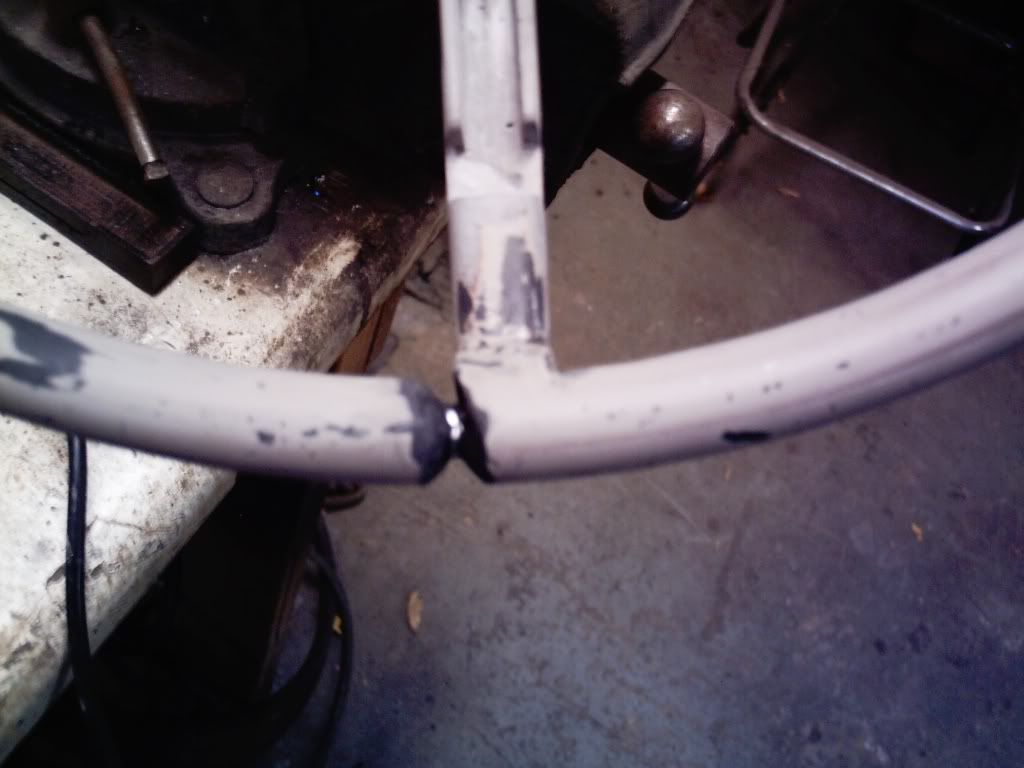
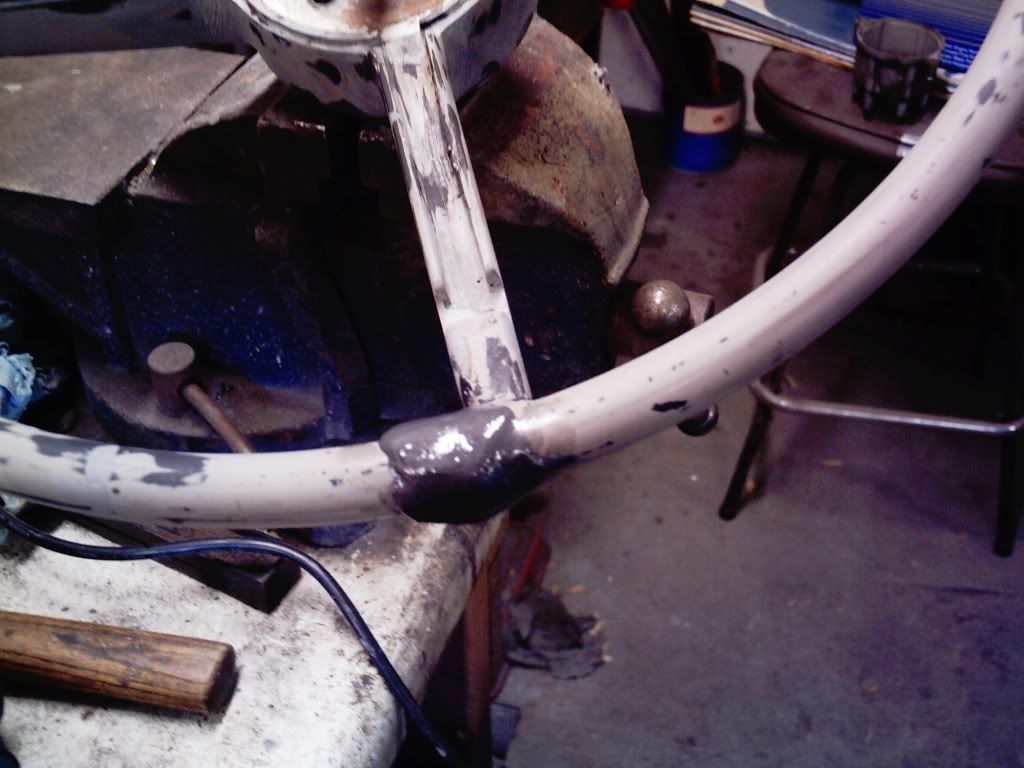
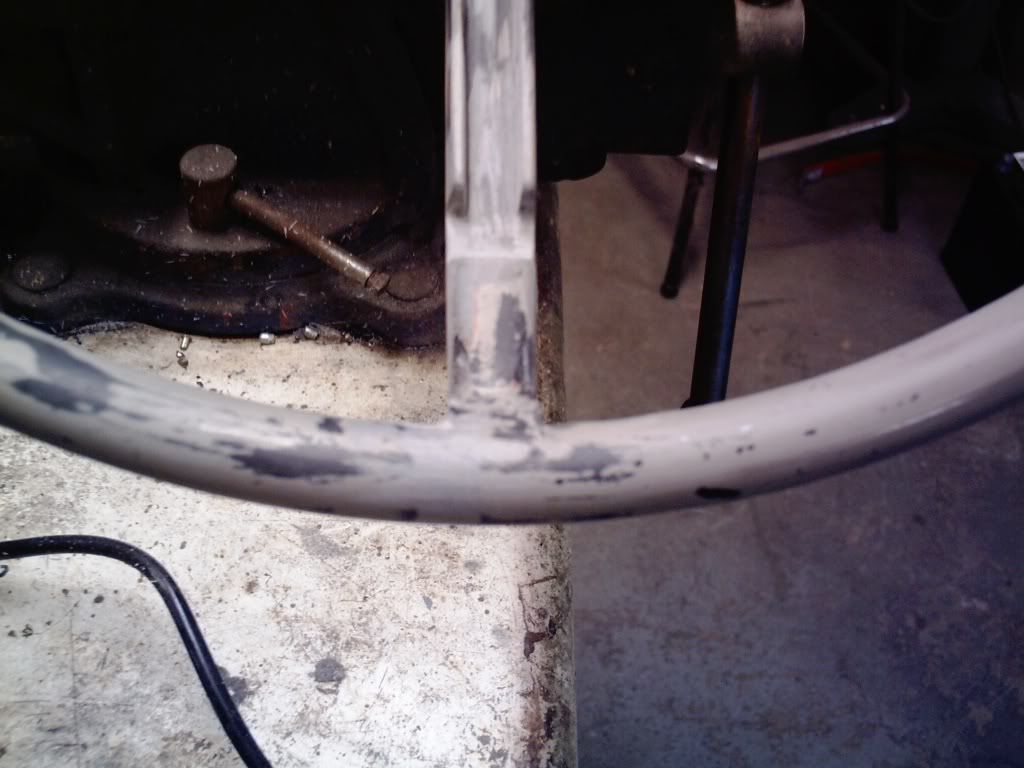
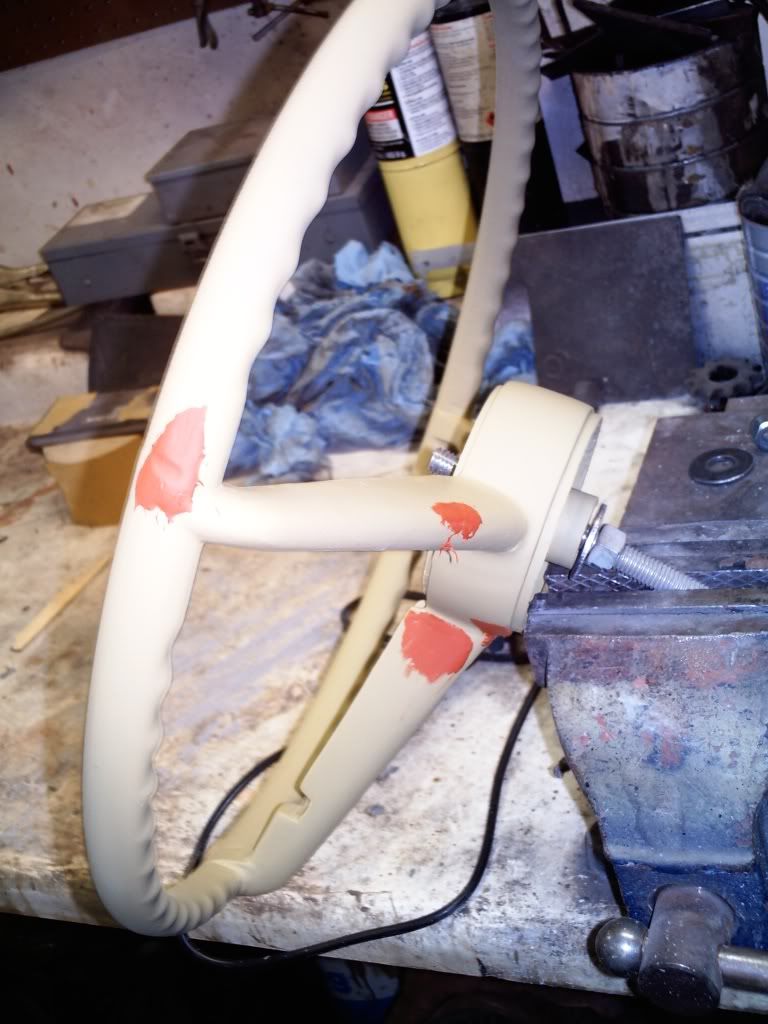
    has anyone ever restored a steering wheel? Iwas able to clean up and die my seats and door panels this weekend and now the steering wheel sticks out like a soar thumb!!!

    if this is possible any advice?
    Kevin Phillips
    Jacksonville,AR

    53 commander

  • #2
    There are several ways to go:

    1. Find a replacement wheel that is in good shape
    2. Purchase a replica wheel from Shrock or another vendor
    3. Recondition your wheel yourself.

    I went with #3. I Dremeled the cracks into a "V" shape and filled with JB Weld then sanded smooth. Try your best to get the JB Weld smooth because the wheel is softer than the JB Weld. After all cracks are filled and sanded, spray with primer. Then use a surface filler to get all the spots that you missed. Another coat of primer, then spray paint.

    Try not using the steering wheel as a handle when entering or leaving the car/truck.
    1948 M15A-20 Flatbed Truck Rescue
    See rescue progress here on this blog:

    Comment


    • #3
      I've used The Eastwood Company's epoxy based steering wheel repair stuff and had good luck with it.
      Frank van Doorn
      Omaha, Ne.
      1962 GT Hawk 289 4 speed
      1941 Champion streetrod, R-2 Powered, GM 200-4R trans.
      1952 V-8 232 Commander State "Starliner" hardtop OD

      Comment


      • #4
        Bowling ball repair kits are also supposed to work. I've never tries it, but---

        Jim
        "We can't all be Heroes, Some us just need to stand on the curb and clap as they go by" Will Rogers

        We will provide the curb for you to stand on and clap!


        Indy Honor Flight

        As of Veterans Day 2017, IHF has flown 2,450 WWII, Korean, and Vietnam Veterans to Washington DC at NO charge! to see
        their Memorials!

        Comment


        • #5
          I had good luck following the procedures in this video and using JB Weld.
          sigpic
          Lanny & Barb Bertram
          '63 Lark Custom R2 4spd
          Indy Chapter SDC since 2000
          Weaverville, NC

          Comment


          • #6
            Unless its been changed, the Eastwood kit consists of a 2 part epoxy and a small booklet. The epoxy is PC-7 and probably available elsewhere by itself for less.

            The PC-7 is somewhat soft and "rubbery" in comparison to JB weld and that is a good thing for a steering wheel. Don't take my desciption to mean its at all "squishy" or actually feels like rubber though. Just that it is not rock hard and brittle. For filling in the hard rubber type of wheel that is a good property so it does not crack again.

            When I got my '53 it had no steering wheel at all and initially in my ignorance I acquired 2 different sedan wheels that are 18" dia instead of the correct 17" diameter. I finally was able to get a pretty rough 17" type "E" wheel correct for my car and simply sprayed it with some left over paint from the dash and used it as-is for a couple of years until I got around to the other wheel I had found in the meantime that was not quite so weathered but was actually worse in some regards since it had chipped out pieces on the spokes where the horn ring recesses. I paid too much for it sight-unseen so I was determined to save it.

            Any rate, one thing to note about '53 and probably '54 wheels is there are 2 different kinds of them in regard to what they are made of. Maybe there were 2 vendors? One type is a hard black rubber that is painted and the other is a solid colored plastic. Of the 2, the rubber ones have held up much better. Any of the colored plastic I have seen are literally crumbling as the plastic is cracking into little squares and will fall apart in your hands.

            Both rough wheels I found were the rubber ones as any of the others I left where they were! Probably those would be OK for a Schrock re-cast tho.

            The process is as stated: Use a dremel and files to grind out the cracked area down to the steel core. Make a large bevel or chamfer when you do and let it be nice and rough for the epoxy to catch to. The PC-7 is very paste-like and you may need to build up in layers and let cure a couple days in between. Once its over-filled you can use coarse files and sandpaper to scupt and shape it.

            After you have all the cracks filled in then apply a coat of etching primer and then some high-build primer just like you were doing a car fender after some "bondo" work on it. You can use some spot putty and repeated coats of high build primer and sanding to get the surface smooth and level. Once that is done use auto paint with hardener to match you interior.

            Some poor pix of the process. I wish I had take some before of the whole wheel to show how rough it looked!


            I probably worked on this wheel off and on for several months over a winter. The epoxy was slow curing and after all the building up of it and grinding down and rebuilding not to mention the primer and spot putty work it took forever! Definately not a evening project for one day there.


            Good Luck!

            Jeff in ND

            Comment


            • #7
              wow, nice job Jeff! My Golden Hawk steering wheel has only two small cracks, but cracks they are, and I'll have to do this at some point, and was wondering what the procedure was and what type of paint would hold up to all that "handling" that a steering wheel gets.
              Thanks for the photos and info. (and good question!)

              Comment


              • #8
                Here's an article I found that may be helpful:


                Clark in San Diego | '63 Standard (F2) "Barney" | http://studeblogger.blogspot.com

                Comment


                • #9
                  I used the POR 15 Steering Wheel repair kit, Much like Jeff's work above, I used round and flat files to form the epoxy after it cured, and sand paper. There were several gaps of over a half inch, at joints between the outer ring and spokes. It turned out well, has lasted over two years with semi-regular use. I primed it gray then painted it red and cream.
                  Click image for larger version

Name:	October 10 steering wheel.jpg
Views:	1
Size:	96.3 KB
ID:	1670403
                  This image is before the interior was finished.

                  (right click on the image for a larger view}
                  Last edited by Tom Bredehoft; 08-16-2011, 11:05 AM. Reason: Add viewing instructions.

                  Comment


                  • #10
                    That looks magnificent.

                    I did what you did and mine came out pretty good, but only lasted two years. My dumb. I should have checked to see the rate of expansion and shrinkage. After the 2 nd year litle pieces started falling off OTHER areas. I wound up with a Shrock wheel. Still can't my "thunder thighs" under the wheel.

                    Comment


                    • #11
                      Bill,
                      Like you, I determined restoring my own sixty-year-old wheel would result in chasing my tail for years. Went with a Shrock and, five years later, don't remember spending the money. The steering wheel will last longer than I do.
                      Brad Johnson,
                      SDC since 1975, ASC since 1990
                      Pine Grove Mills, Pa.
                      '33 Rockne 10, '51 Commander Starlight. '53 Commander Starlight
                      '56 Sky Hawk in process

                      Comment

                      Working...
                      X