If you recall from previous posts, I'm in the process of taking my "Cheap" 1974 Avanti four speed from non-functional to street-able muscle car.
The previous owner advertised stronger than OEM hog troughs. I won't argue the strength issue but overall floor support was lacking.
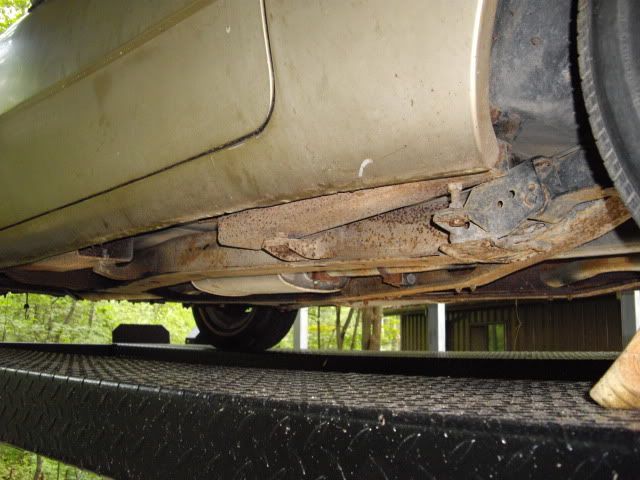
Forum member Jim Sinclair offered me a pair of hog troughs ( one new, one in repairable shape) at a more than reasonable price. So I accepted his offer and this is the result. Now I just need to glue the rocker panels back that I removed to install the troughs.
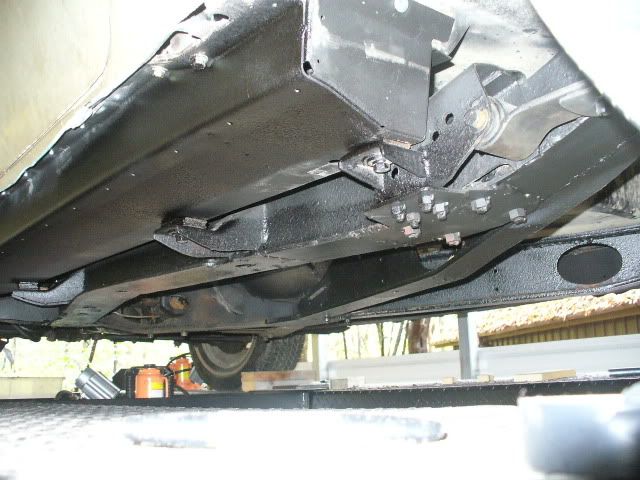
This is the new one.
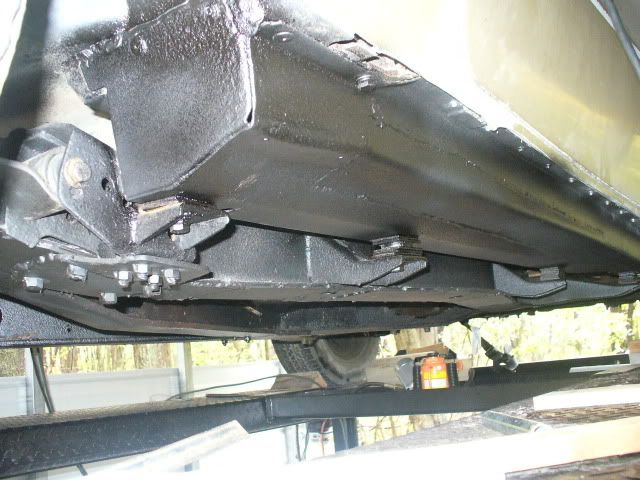
This is the one that needed repair. I didn't spend any time making it pretty-pretty as it won't be going slow enough for anyone to focus on the repair.
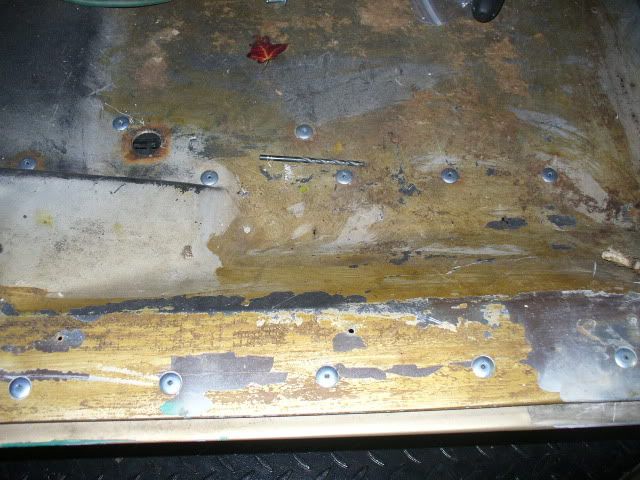
This is a shot of the rivets I installed to be sure the old holes were reinforced enough after I matched them with the holes in the new troughs. I recessed the rivets along the door sill so the sill plates would fit flush.
After a day of 44 deg and 60+ MPH wind gusts yesterday, the temperatures are forecast to be high enough this weekend to allow me glue the rockers back.
Next, on to pulling the old 307 and detailing the engine compartment while I build a nasty SBC 383 that I picked up for a song.
Bob
The previous owner advertised stronger than OEM hog troughs. I won't argue the strength issue but overall floor support was lacking.
Forum member Jim Sinclair offered me a pair of hog troughs ( one new, one in repairable shape) at a more than reasonable price. So I accepted his offer and this is the result. Now I just need to glue the rocker panels back that I removed to install the troughs.
This is the new one.
This is the one that needed repair. I didn't spend any time making it pretty-pretty as it won't be going slow enough for anyone to focus on the repair.
This is a shot of the rivets I installed to be sure the old holes were reinforced enough after I matched them with the holes in the new troughs. I recessed the rivets along the door sill so the sill plates would fit flush.
After a day of 44 deg and 60+ MPH wind gusts yesterday, the temperatures are forecast to be high enough this weekend to allow me glue the rockers back.
Next, on to pulling the old 307 and detailing the engine compartment while I build a nasty SBC 383 that I picked up for a song.
Bob
Comment