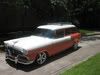
Today to work the turkey off I got the rear quarters and fins removed from the hawk.[img][/img]
Studebakers forever!
Studebakers forever!
Thank you for visiting the SDC Forum, a service of the Studebaker Drivers Club, Inc., an International non-profit organization dedicated to the promotion and preservation of Studebaker automobiles.
Our Forum is free to use, but in order to join the discussion boards you will first need to register.
Read our Policies and Terms Of Service here.

 ] The sad thing is that I've cut up several solid C-body tubs because I couldn't GIVE them away.[V]
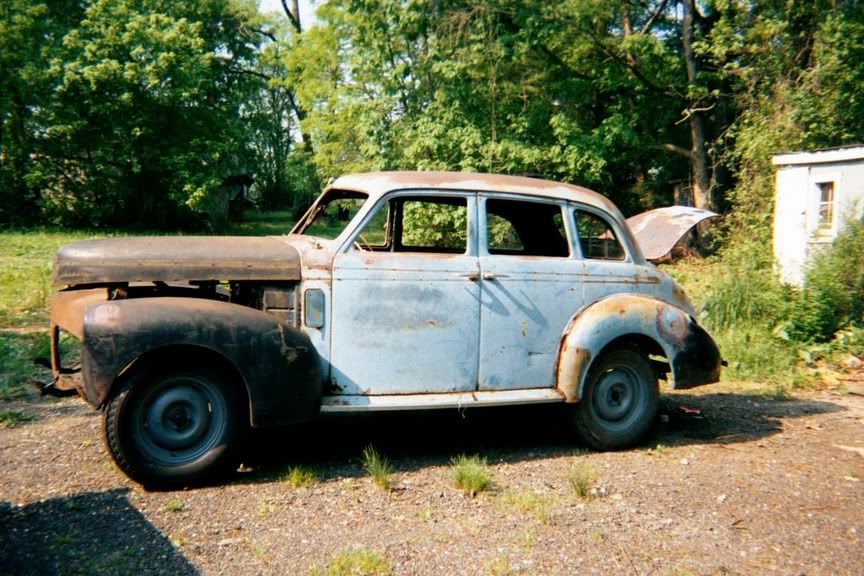
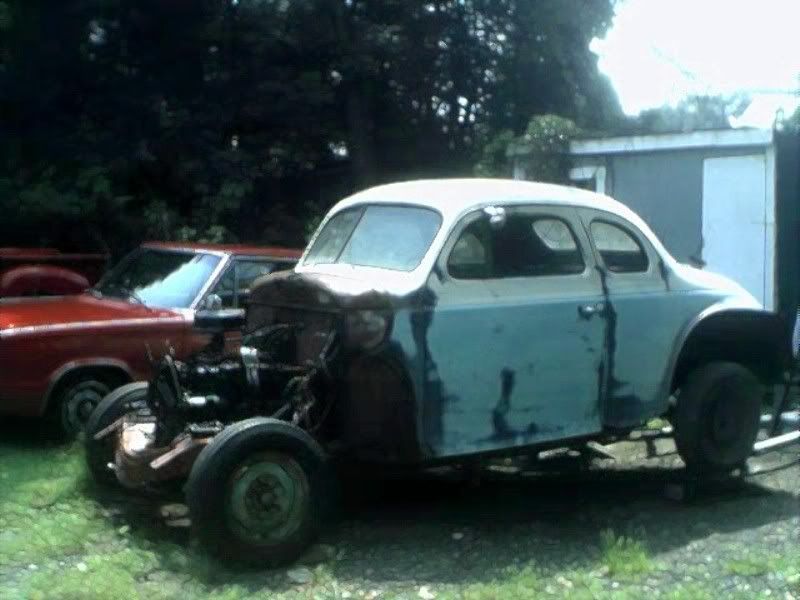 If your fanit at heart these cars can get you down however over here most of the cars we work are in this shape. I took this from this to this!
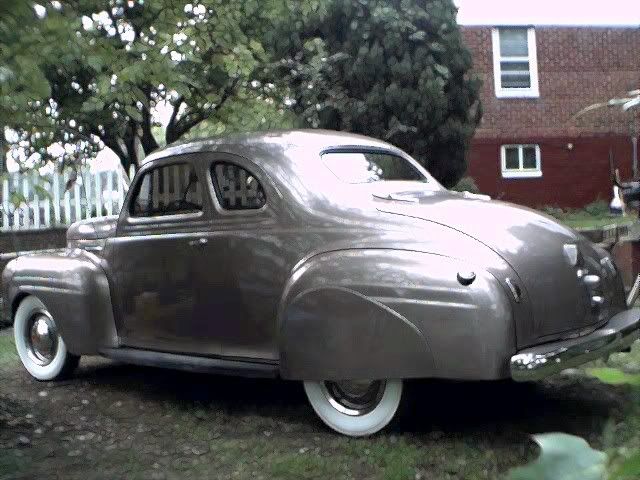
 to this[img][/img]
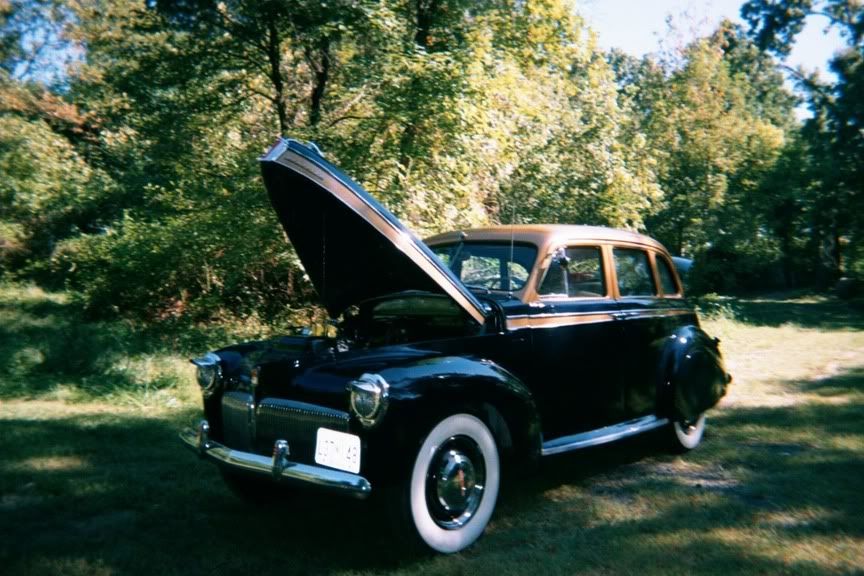

Comment