Announcement

Collapse
No announcement yet.

The Thunder Hawk Project is back on

Collapse
X
 
  • Filter
  • Time
  • Show
Clear All
new posts

  • #91
    Dan,
    I have been following your project(s) for quite some time. I am naturally inspired by the Studebaker work, but even more so by your approach to your medical situation. I was treated for non-hodgkins lymphoma about ten years ago. Recently I have started treatments for a related cancer. I, like you, have found that continuing with a regular life as much as possible is great therapy. Thanks for the example you have set.
    Joe Roberts
    '61 R1 Champ
    '65 Cruiser
    Eastern North Carolina Chapter

    Comment


    • #92
      JRoberts,

      Thank you for those kind words. They are words of encouragement for me. Every time I don't feel like going to the shop or working on something I think of all the people like you who have told me they are watching me and finding hope through watching me press through this trial. I know that I would be letting a lot of people down if I ever decided to give up so I never consider it. This past 12 plus years have been hard but still I would not trade them for twelve years of good health. I have become stronger and wiser and more compassionate because of what I have gone through. I will be praying for you to have hope and healing during this newest cancer battle.
      Dan

      Comment


      • #93
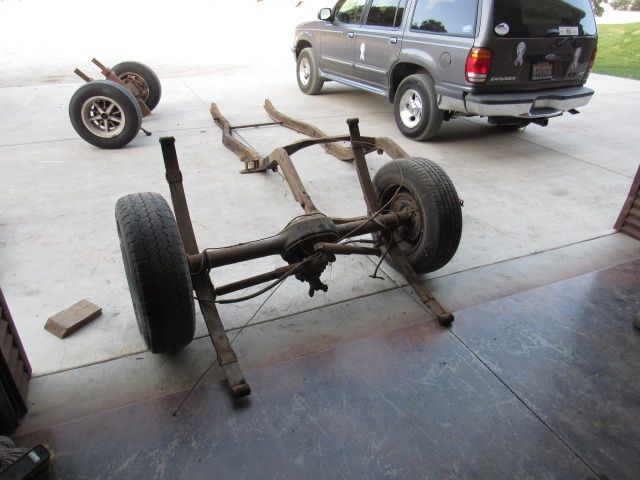
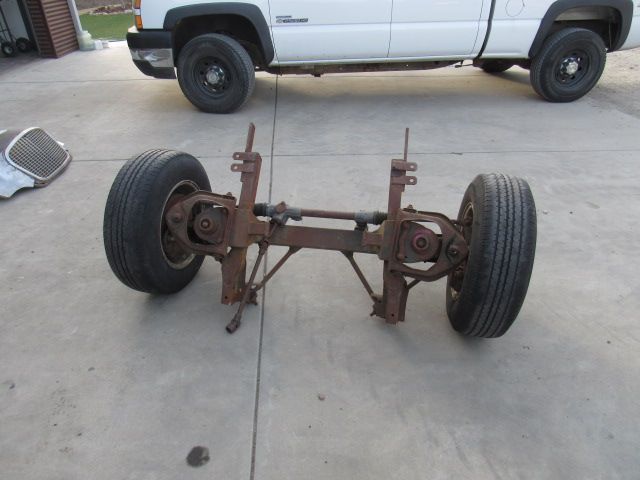
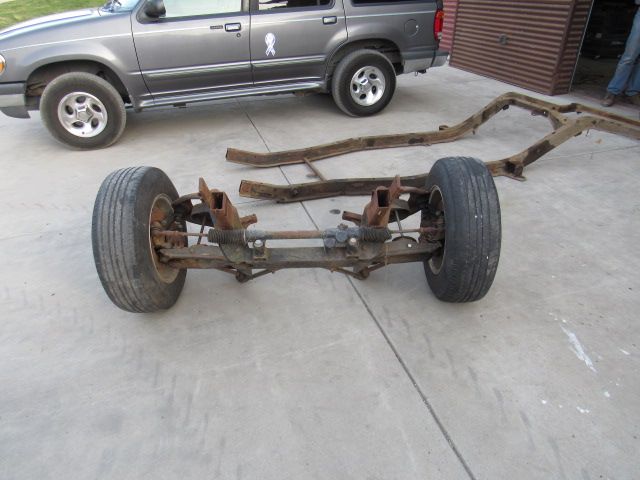
        No pictures (sorry but I was too tired by the time we left) but will take some tomorrow. My grandson got the front suspension taken off the frame for me. Turns out I made the bolts for the springs long enough to be able to fully release the spring tension without the hassle. So now he will do the finish welding and clean up the old mounts to prep the frame for painting. Still have to rebuild the suspension and get everything painted. But it is good to be making progress. While Angel was taking the suspension apart I was sorting through parts and tools and trying to get the shop organized. Still spending way too much time looking for things I know I have. We did do the acceleration testing on the Bonneville car today but that is another story.
        Dan

        Comment


        • #94
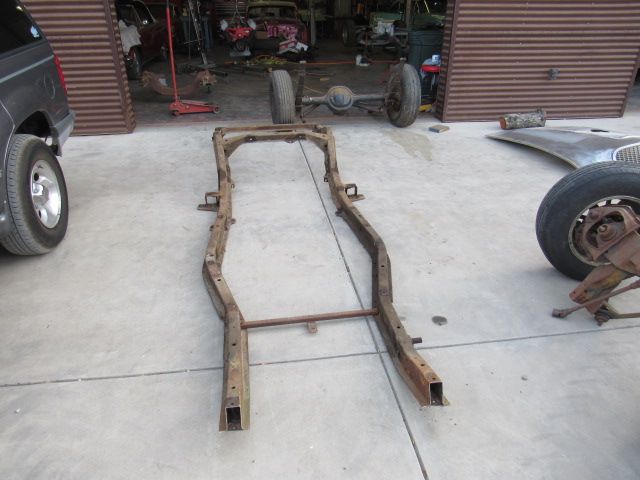
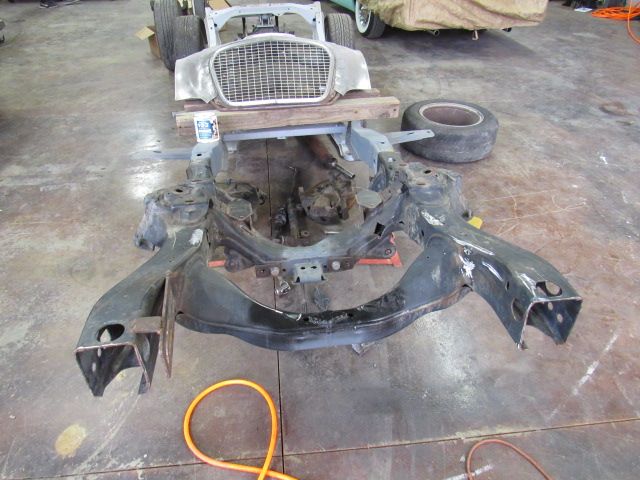
          So here are the pictures from yesterdays work.


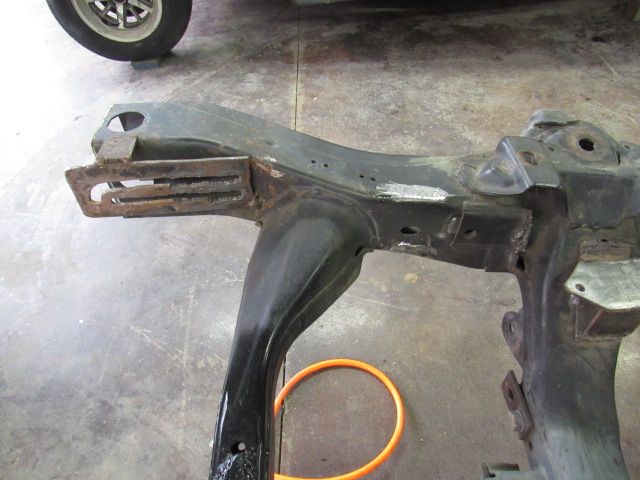
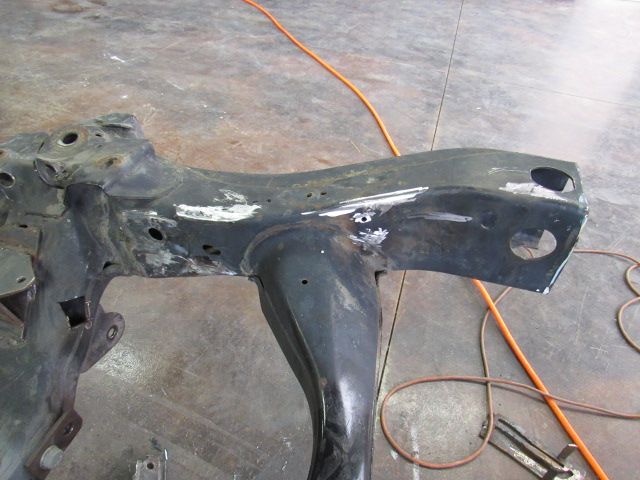
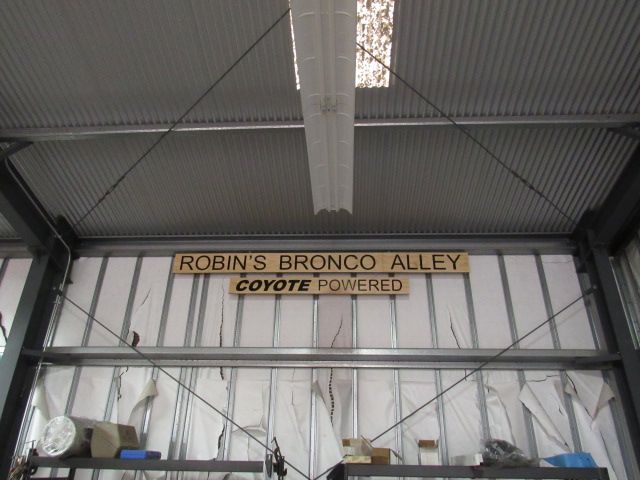
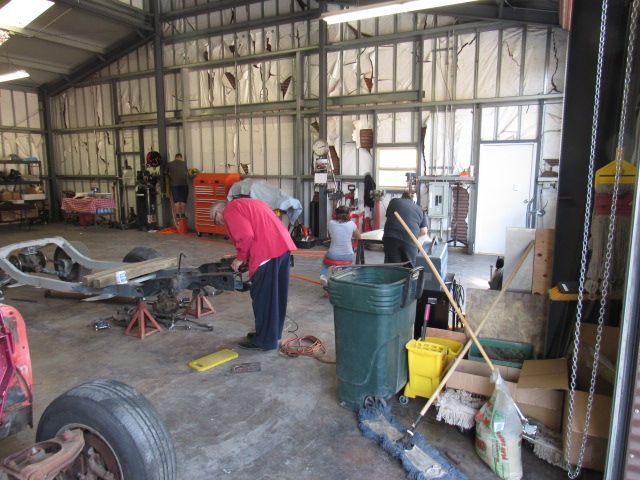
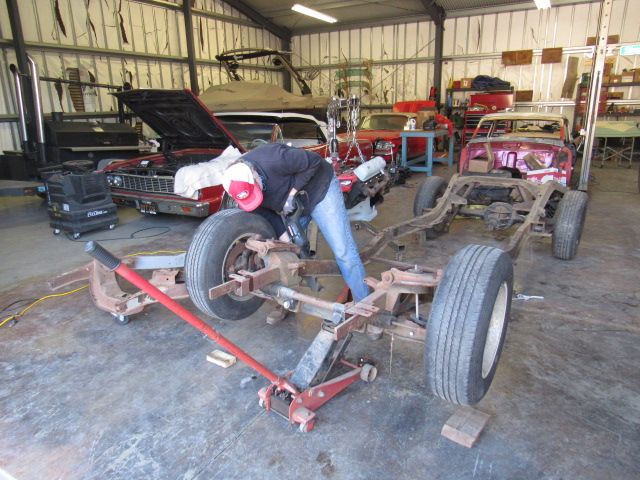
          Andy and Angel started work on removing all the Dodge related brackets and such. Cleaning up the frame to make it ready for paint. Andy braved the fires and drove up form Palmdale to deliver and install some signs I had him make for Robin. Thought Robin's shop should have an official look to it.

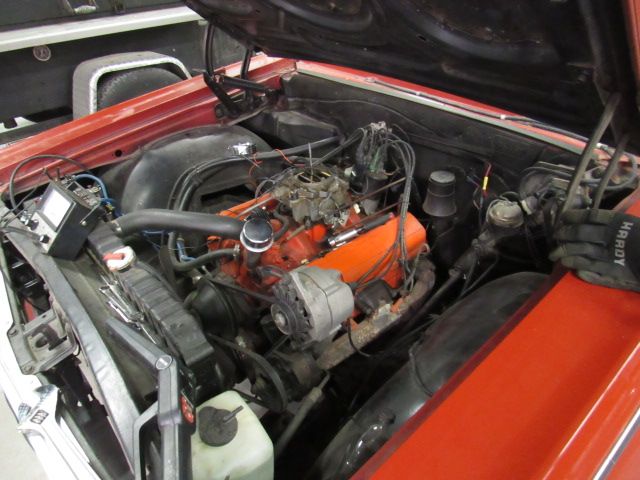
          I have been working on Robin's Malibu and discovered that the dampener has been replaced or is spun and needs to be replaced. It looks like someone installed a wide late model balancer but TDC is not the real TDC. So will tool it up and figure out where the real TDc is and go from there.

          So more tomorrow as we will be running more tests on the Power Hawk. These are tests that Andy wanted done so he can do his engineering figures to get ready for the build.
          Dan

          Comment


          • #95
            Sounds like someone put on a late model balancer from a long water pump engine. That would put the timing mark at12 o'clock. You have a short water pump engine. The timing mark should be at 2 o'clock. Set the engine at top dead center using the ole piston stop in the no. 1 spark plug hole method.
            Dan, I know you probably know how to do this. But I'll describe it for the other forum members.
            Screw the piston stop into the no. 1 spark plug hole far enough for the piston to hit it before it reaches tdc.
            Turn the engine by hand until the piston hits the stop.
            Mark the balancer with a sharpie or soap stone at the
            0° mark on the timing indicater tab.
            Turn the engine by hand the other direction until the piston hits the stop.
            Again, mark the balancer at the 0° mark on the tab.
            Find the halfway point between the two marks.
            Mark the balancer at the halfway point and erase the other two marks. That's the correct tdc mark for the balancer. If the timing tab doesn't have the degree marks on lt for setting the advance, you'll have to use a timing tape for the balancer, or do some math to find where the advanced marks should go. Or use a timing light with the timing advance built in. I've never had or used one of those lights. My timing light is about 50 years old.
            Jerry Forrester
            Forrester's Chrome
            Douglasville, Georgia

            See all of Buttercup's pictures at https://imgur.com/a/tBjGzTk

            Comment


            • #96
              Funny, I always (even just yeasterday) put a screwdriver in #1 sparkplug hole & when the piston is at top I back it just a little & that's where I put the rotor on the sparkplug wire in the distributer cap.
              I never even looked at the balancer...

              Comment


              • #97
                Originally posted by Noxnabaker View Post
                Funny, I always (even just yeasterday) put a screwdriver in #1 sparkplug hole & when the piston is at top I back it just a little & that's where I put the rotor on the sparkplug wire in the distributer cap.
                I never even looked at the balancer...
                Yes Nox. The screwdriver in the plug hole is a good way to locate the correct position for the no. 1 plug wire. But it's not a good way to find tdc to set the ign. timing.
                Jerry Forrester
                Forrester's Chrome
                Douglasville, Georgia

                See all of Buttercup's pictures at https://imgur.com/a/tBjGzTk

                Comment


                • #98
                  No, I do that by hearing...
                  (& so far - so good!)

                  Comment


                  • #99
                    Even though I sometimes set the timing by ear, I also like to know exactly where the timing is, and I check that by the same method Jerry just explained.
                    In the 70's when I worked at the GM dealership, I had to replace quite a few balancers because some would shift on the rubber.

                    Comment


                    • All good stuff here. With the gasoline we have to run here in California you can't just ear time a car. You don't get a tell tale knock during detonation with ethanol fuels so you are doing harm to your engine without even knowing it until its too late. So you must be able to set the timing accurately. So I will have to use the method Jerry described to find the true top dead center then mark the balancer accordingly. Then I can set the timing and check the vacuum advance operation and have confidence the car will survive our crudy fuel. If you wonder how bad ethanol is keep track of your mileage. When we switch to the "winter" fuel here (ethanol at as high as 20% yes, I have measured that high a level) you loose about two to three miles per gallon on most all cars and trucks. Not to mention all the damage it does to your fuel system on our classic cars.

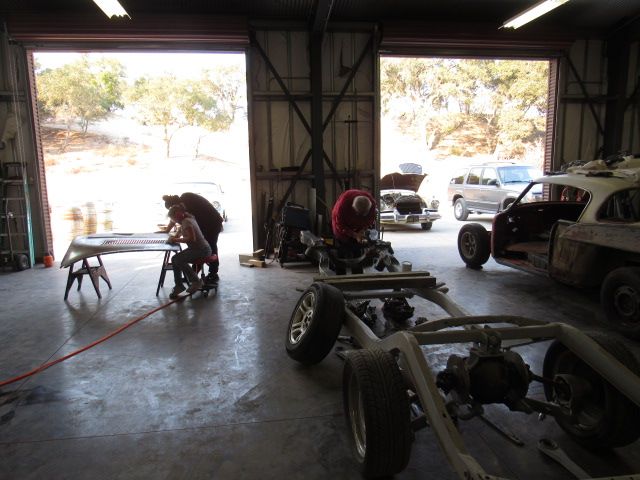
                      Today Andy got the front of the frame cleaned up. All the Mopar brackets and old mounts are gone and the frame is ready for some fill in welds and then clean up for primer and paint.

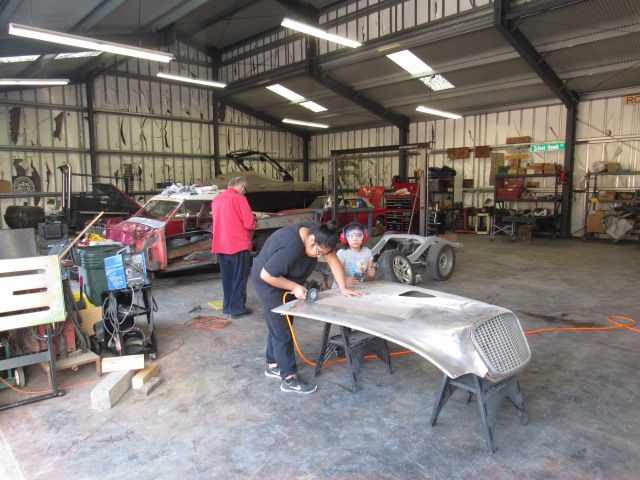
                      My grand daughter and her cousin worked on the hood.


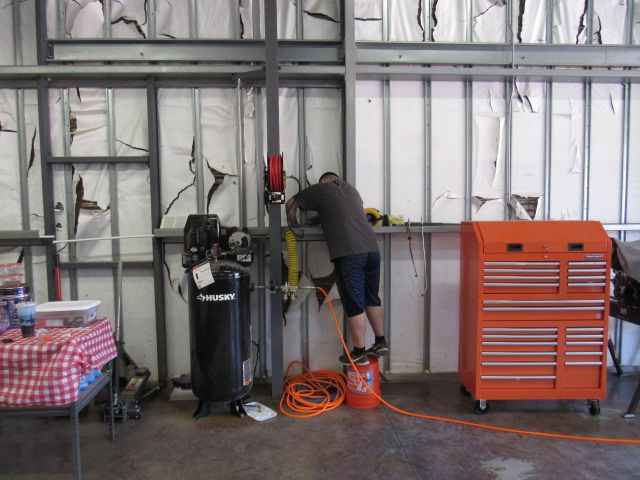
                      My grandson worked on the airl lines in preparation for relocating the air compressor.

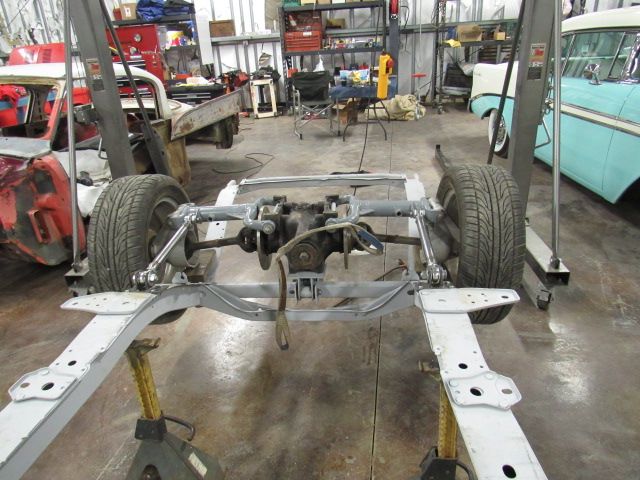
                      So progress is being made. I will try to get the radius rods finished and then I can start all the finish welding on the frame.
                      Dan

                      Comment


                      • Dollar Tree has white out pens, 2 for a dollar, and they are a fine tip pen with quick dry white paint.
                        These work great for highlighting timing marks, numbering plug wires, etc.

                        Comment


                        • TWChanp,

                          Thanks for the tip. I currently use pint pens from the local craft store. Made by Marks-O-Lot and come in several colors. Use them for fabricating and a host of other things. A cheaper alternative is a good thing. Thanks again for the tip.
                          Dan

                          Comment


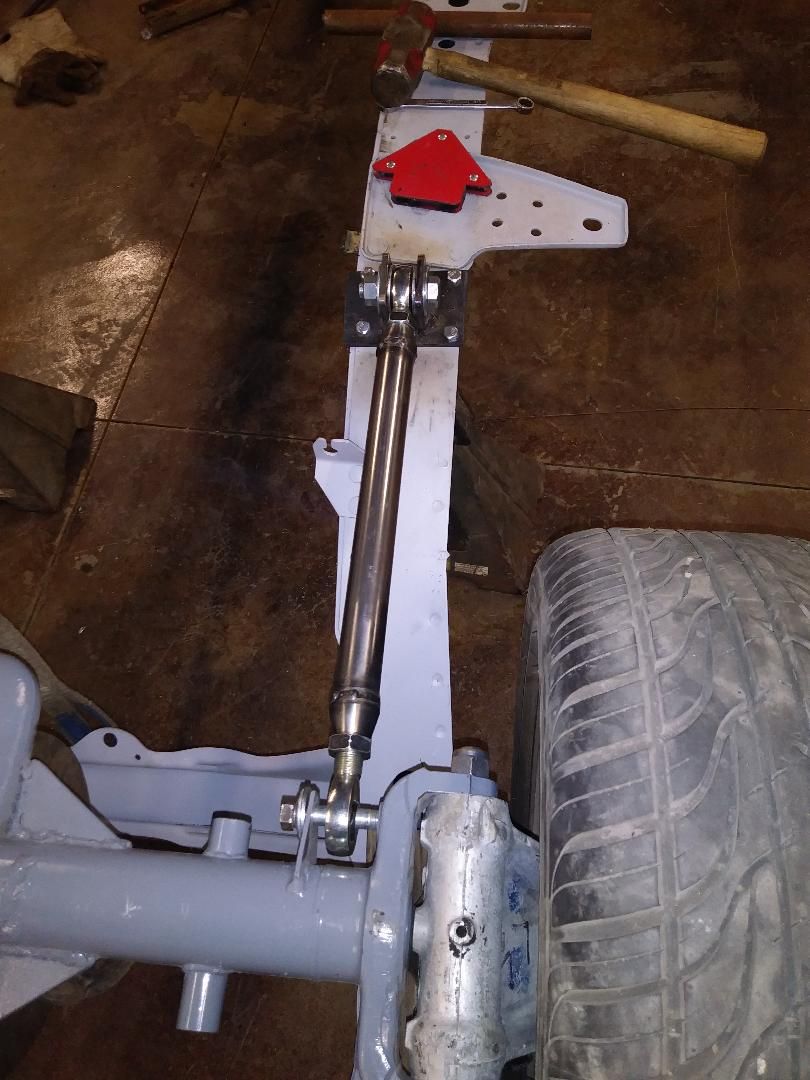
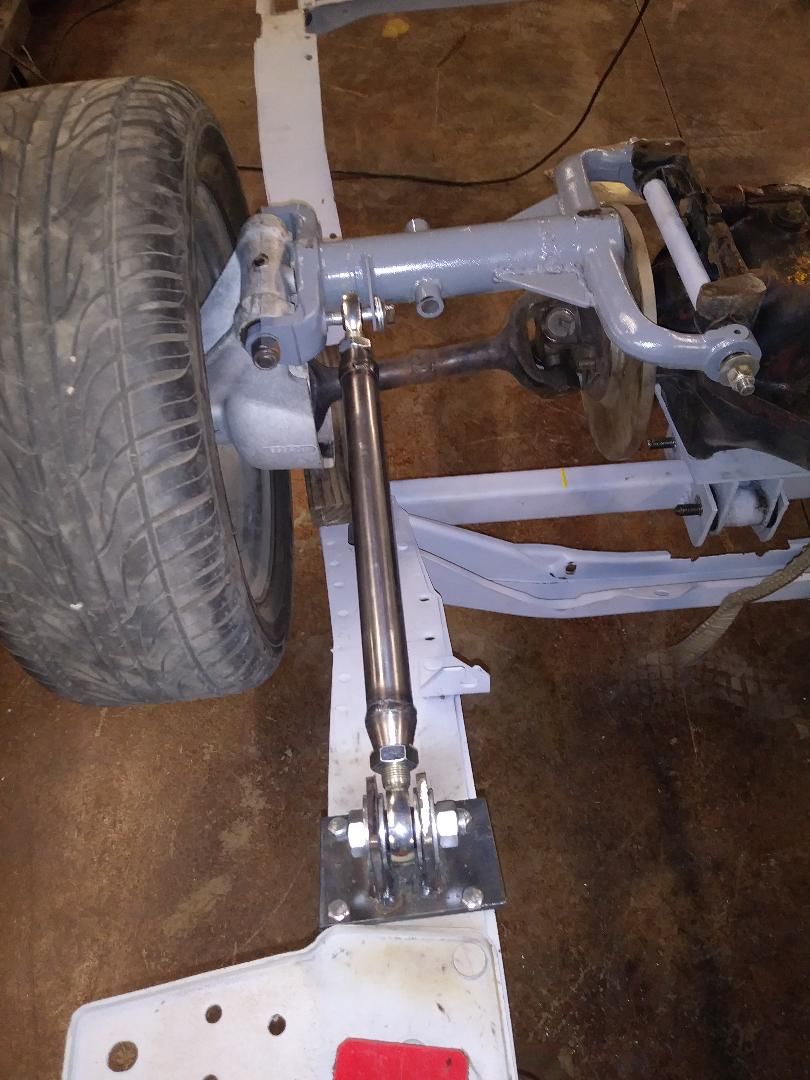
                          • Got one radius rod made today. Worked on a lot of other stuff so not much time. Will finish them tomorrow and paint them and then on to all the welding on the frame supports. Progress that is long over due.


                            Dan

                            Comment


                            • Only had about a half hour to work on the project but made the most of it. Got the radius rods all welded up and ready to go. Some clean up work and paint and ready for final installation. Tomorrow is a full day without errands and other distractions so look for more tomorrow night.


                              More as it happens.
                              Dan

                              Comment


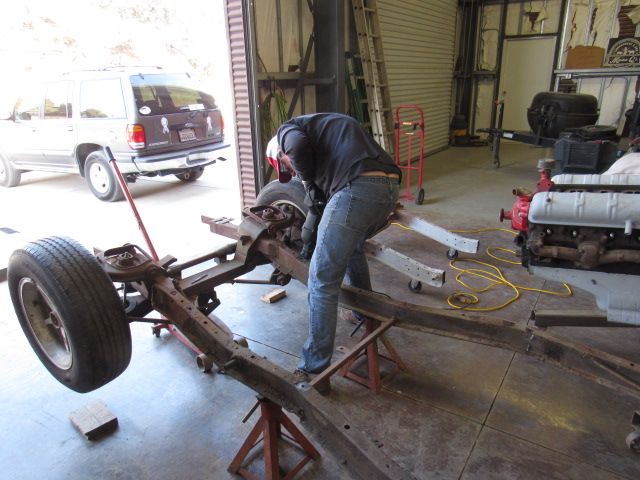
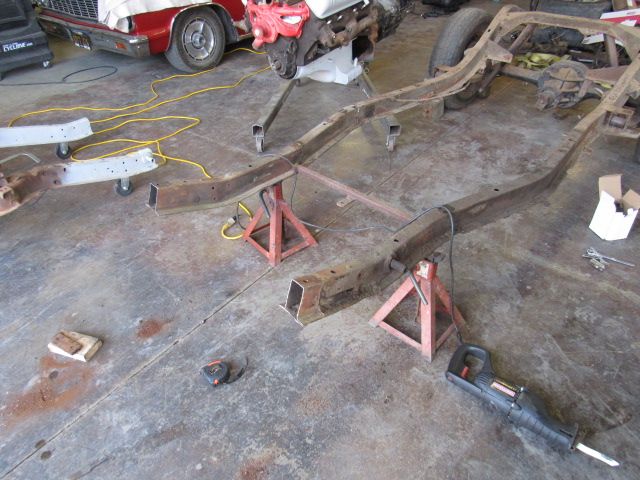
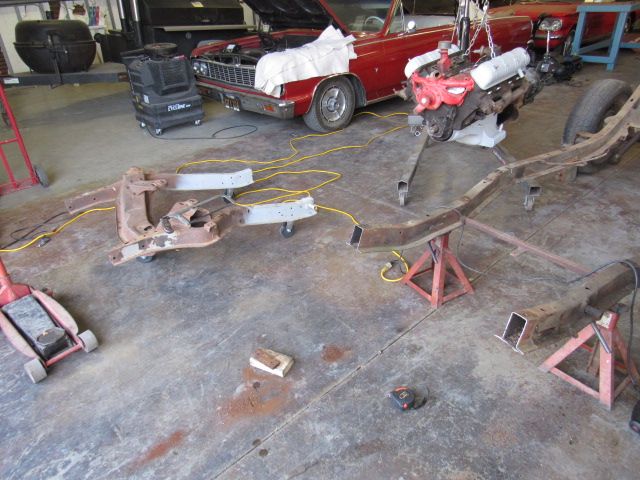
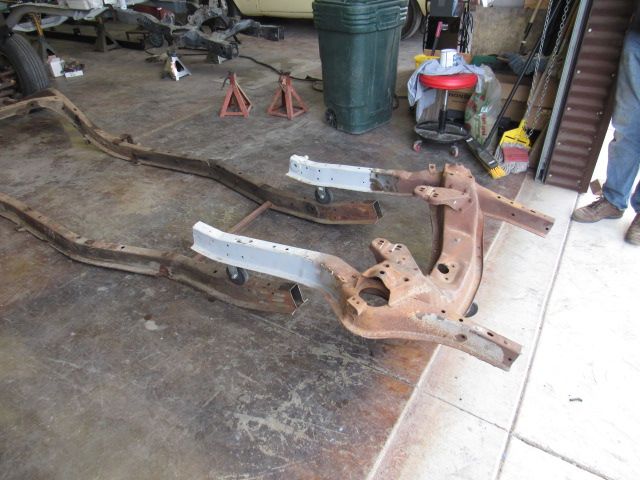
                              • Tom was off work today so he came over and got the frame all striped down and cut the front clip off. Need to clean it up and then lots of welding.


                                More as it happens.

                                Comment

                                Working...
                                X