Getting ready to assembly and install the upper & lower control arm kin pin assembly, coil springs etc... I read the coil spring installation page, seems this is the way to go with the doghouse assembly and the upper CA installed. Just looking for ways and step by step proceedures to make this job less difficult. Do i assemble everthing as a doghouse assembly? Start from installing to upper control arm first? What goes first and what's the last step? Got the inner bushings installed and ready to use my spreader tool.
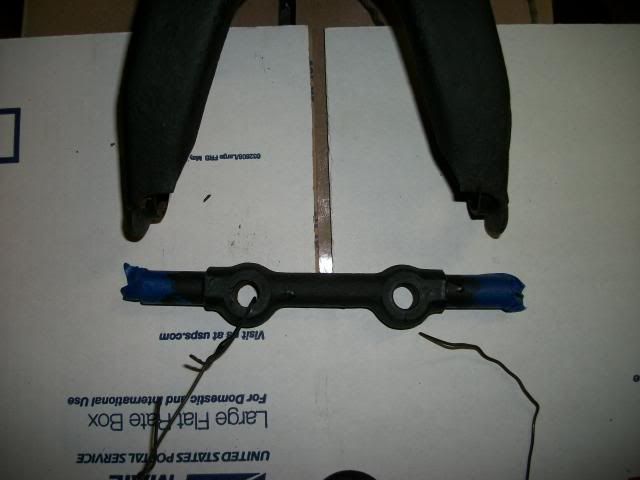
Also upper inner CA shaft that i didn't mark as shop manual stated. Holes are offset, which way is the off set, bigger hump towards the outside or engine side??


Any asssistance is greatly appreciated...Thank you all for you feedback on my questions I had, much appreciated...Still have the engine and A/T on the car so compressing the spring is good to go. Also upper inner CA shaft that i didn't mark as shop manual stated. Holes are offset, which way is the off set, bigger hump towards the outside or engine side?? Only got one answer on this, is there any other opinions? How was this mounted from the factory?
Also upper inner CA shaft that i didn't mark as shop manual stated. Holes are offset, which way is the off set, bigger hump towards the outside or engine side??
Any asssistance is greatly appreciated...Thank you all for you feedback on my questions I had, much appreciated...Still have the engine and A/T on the car so compressing the spring is good to go. Also upper inner CA shaft that i didn't mark as shop manual stated. Holes are offset, which way is the off set, bigger hump towards the outside or engine side?? Only got one answer on this, is there any other opinions? How was this mounted from the factory?


Comment