Announcement

Collapse
No announcement yet.

Installing a windshield washer kit on Hawk

Collapse
X
 
  • Filter
  • Time
  • Show
Clear All
new posts

  • Installing a windshield washer kit on Hawk

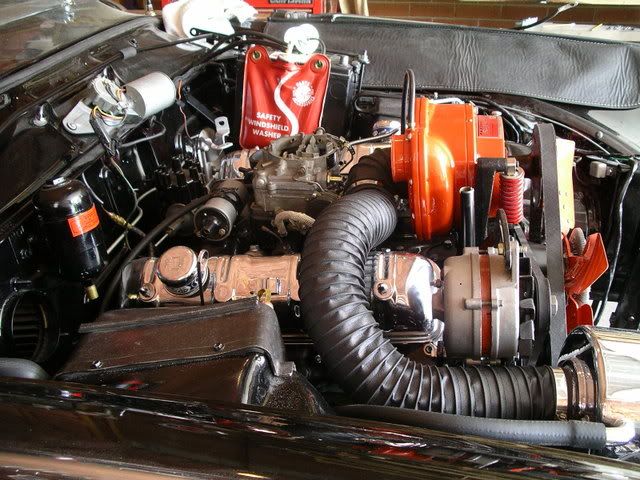
    I am installing a NOS windshield washer kit on my '64 Hawk. While reading the instructions and using the templates I found that the diagram showing the location of the nozzles and the template are quite a bit different. The template shows the nozzles about 1.5" from the edge of the cowl opening, while the diagram shows them 3.5" from the cowl. Anyone notice this? Where are your nozzles located if you have this option?

    Thanks

    Dan White
    64 R1 GT
    64 R2 GT
    Dan White
    64 R1 GT
    64 R2 GT
    58 C Cab
    57 Broadmoor (Marvin)

  • #2
    Dan,

    I up at the cottage in the Lark but I will be home tomorrow and will gladly post pictures and dimensions of nozzles on the cowl of my 64 Hawk. I've got the automatic washer foot peddle installed from factory in my Hawk. Here's a pic I had on my computer of one of the nozzles.


    1964 GT Hawk R2 Clone
    Oakville, Ontario.

    Hamilton Chapter
    See you at Niagara 2008 Crossroads Zone Meet July 18-20
    1964 GT Hawk
    PSMCDR 2014
    Best time: 14.473 sec. 96.57 MPH quarter mile
    PSMCDR 2013
    Best time: 14.654 sec. 94.53 MPH quarter

    Victoria, Canada

    Comment


    • #3
      Can they be installed on a painted car without damaging the paint?

      I just found a kit for my car in a box in the back room.

      Comment


      • #4
        on my '61,the washers are 3&1/2 inch from leading edge of cowl,and 4 inches in from the wiper shaft. Bondo,I suppose they could be done after it's painted,but you're gonna have to be really slow and careful with the drill!!

        Oglesby,Il.
        "Studebaker? It must be hard to find parts for those!"
        Oglesby,Il.

        Comment


        • #5
          The 3.5 x 4" location is per the instructions. I will scan the template tonight that shows the location about 1.4" from the cowl. Pretty crazy that the engineer or proof reader could not have caught that.

          I plan to drill through my paint and I just have a really sharp bit and start with a small bit and work your way up the sizes.


          Dan White
          64 R1 GT
          64 R2 GT
          Dan White
          64 R1 GT
          64 R2 GT
          58 C Cab
          57 Broadmoor (Marvin)

          Comment


          • #6
            Just to be safe, put some touch-up paint around the inside of the freshly drilled hole. Can't be too carefull of that old enemy of Studebakers called rust.[}][xx(] Hope this helps.

            Dan Miller
            Atlanta, GA

            [img=left]http://static.flickr.com/57/228744729_7aff5f0118_m.jpg[/img=left]
            Road Racers turn left AND right.

            Comment


            • #7
              Don't have an real explanation for that. Perhaps the recommended location did change when the heater-defroster system changed.


              Dwain G.
              Restorations by Skip Towne

              Comment


              • #8
                Use some (blue) painters masking tape to mark your hole(s) and also to drill through. It will allow you to start the hole a bit easier and also save the paint if it should skip out of the intended hole. The blue masking tape should remove with little or no residue to remove.

                55 Commander
                58 Transtar
                62 GT Hawk
                66 Cruiser

                Comment

                Working...
                X